


📐 How to Draw — Step by Step
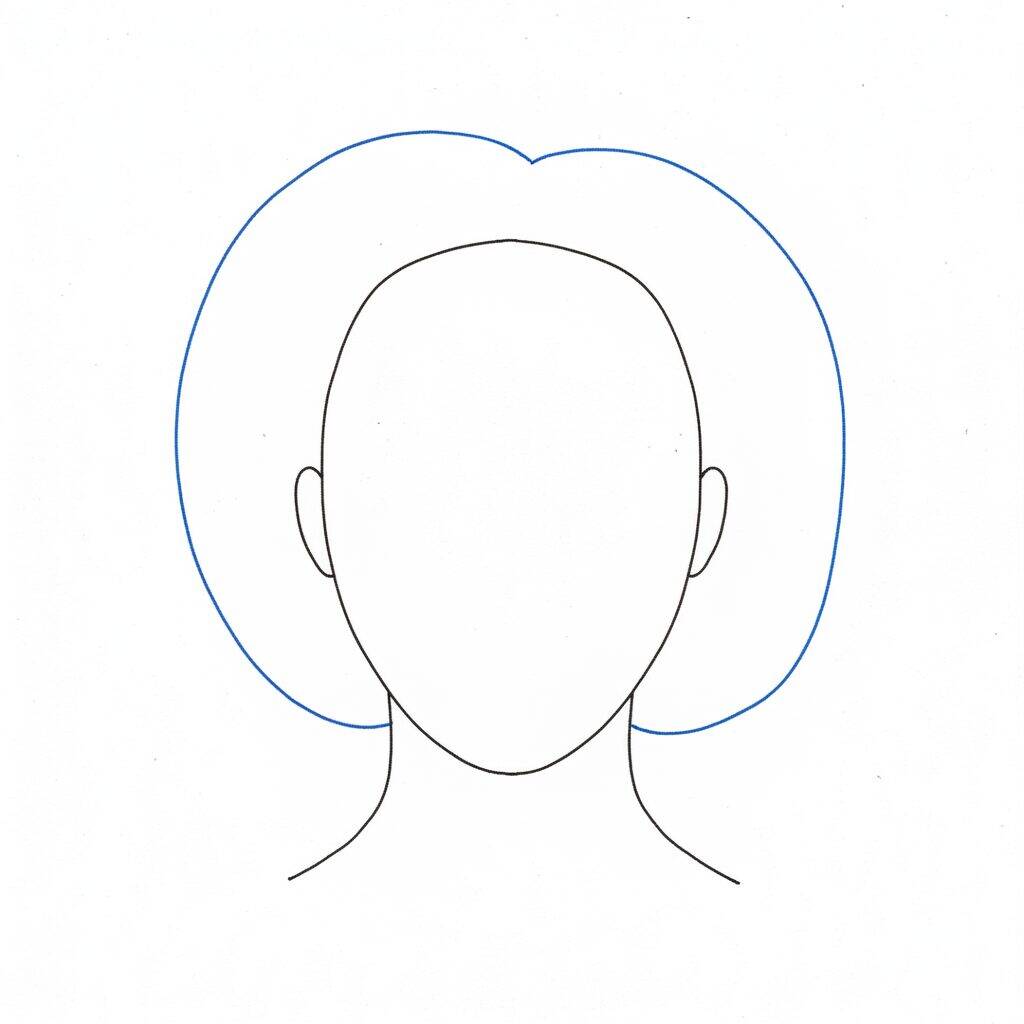
Step 1 of 10
For the second step, start adding basic shapes that will represent the hair. Draw soft lines along the head, following the shape of the skull, to create the base of the hair. Make waves or curves, depending on the style you want. Remember to keep the lines light as you can adjust them later. This will help define the volume and texture of your hair.
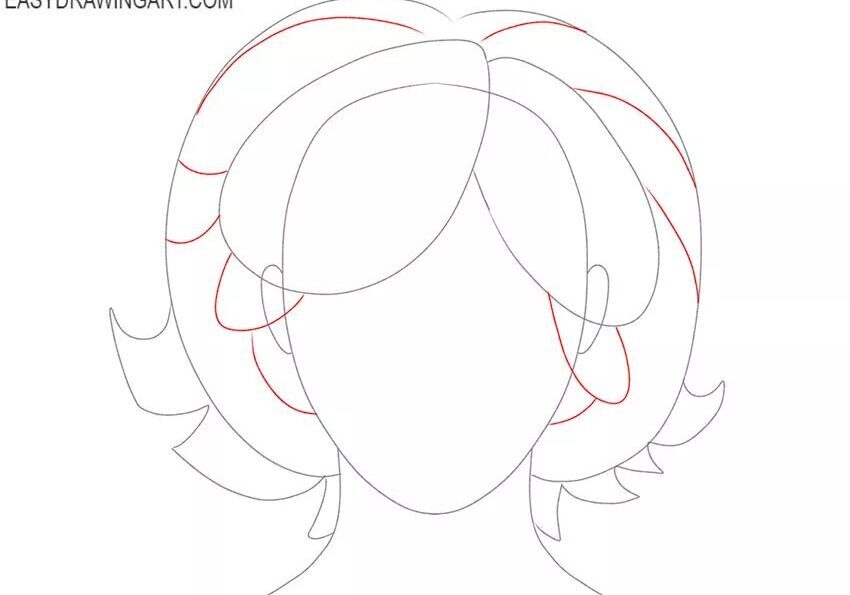
Step 2 of 10
For this third step, start to better define the hair strands. Use the lines you drew earlier as a guide, but add more details and outlines. Create more pronounced waves and curves in the strands, giving the impression of movement. Remember that hair has volume, so don't hesitate to make the lines a little wider in some areas. This will help bring your drawing to life.
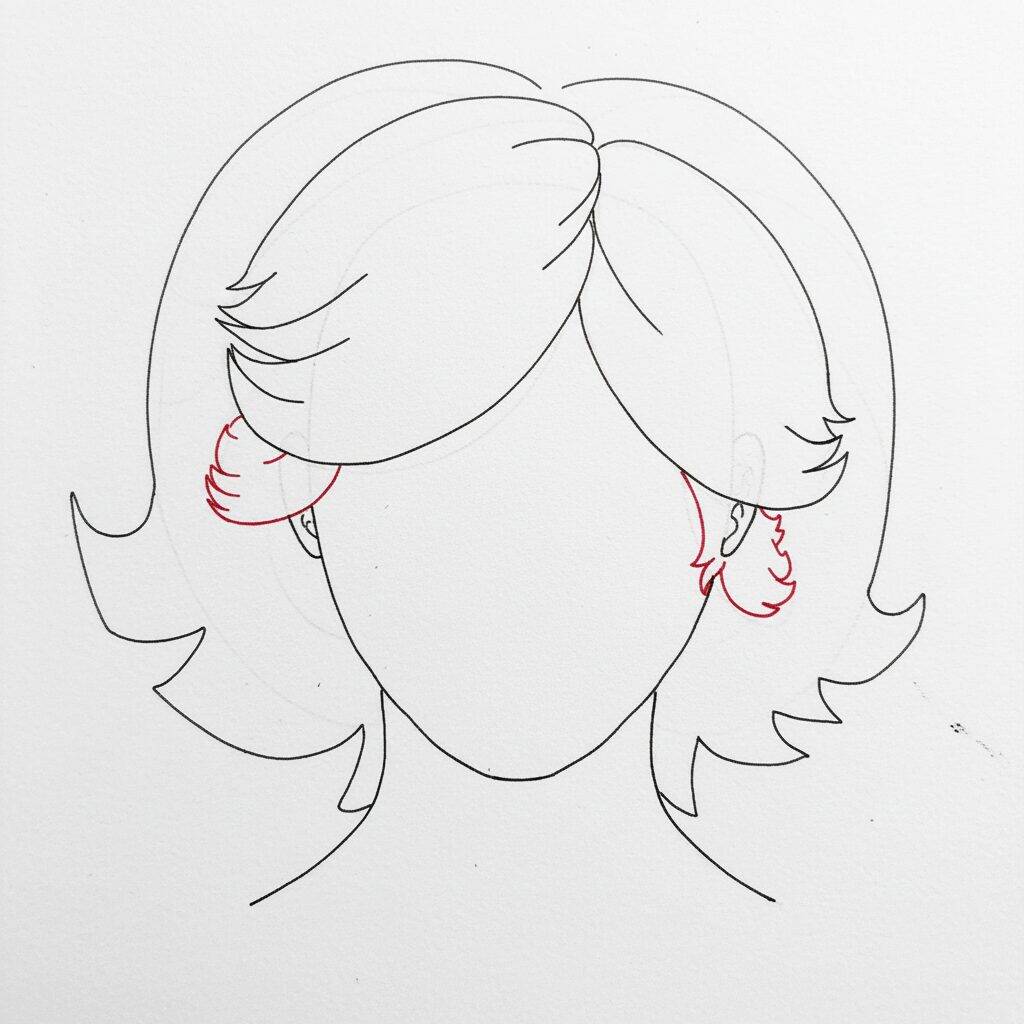
Step 3 of 10
For this fourth step, start adding more details to the hair sections. Use the lines you've already drawn as a base, but start to give each strand shape and texture. Follow the natural flow of the hair, adding small waves and variations in the thickness of the lines. This will help create a more realistic and dynamic effect. Don't forget to leave some areas looser to simulate hair movement!
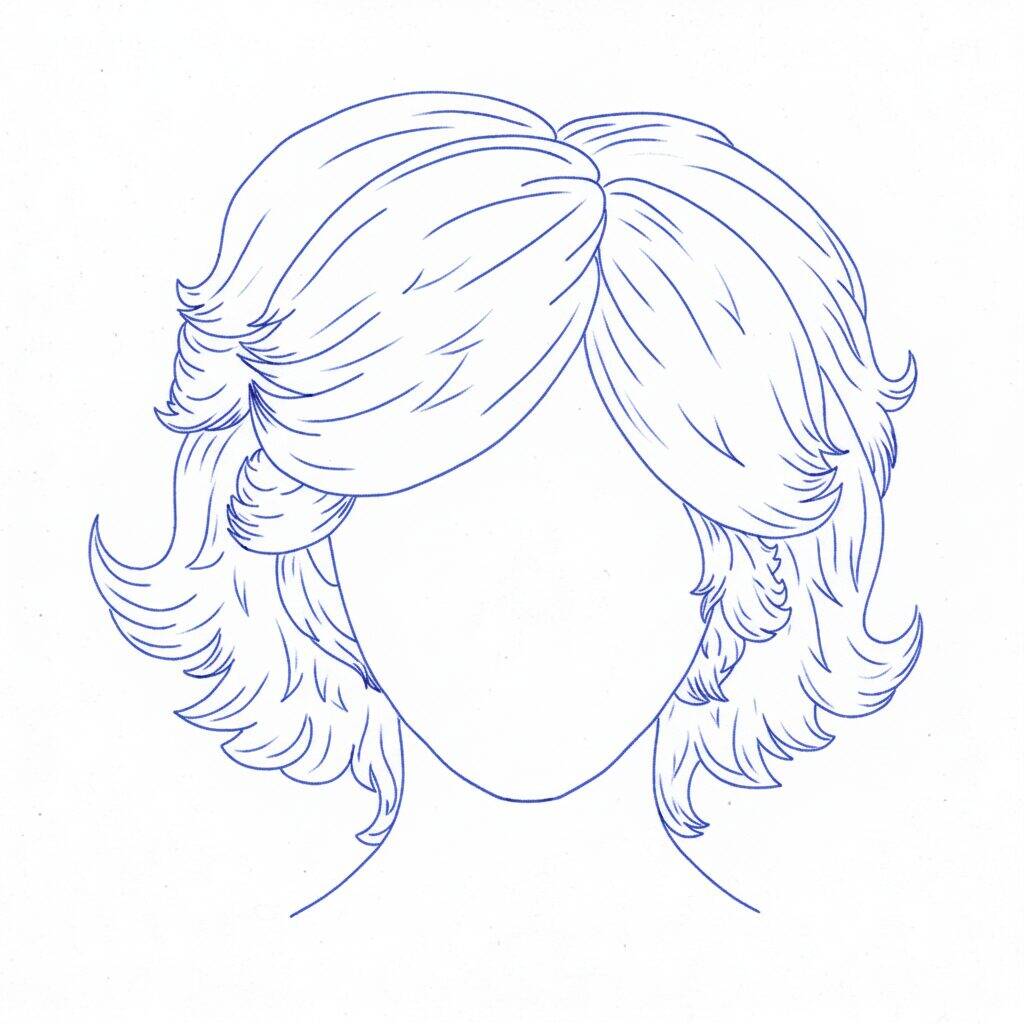
Step 4 of 10
Now, let's focus on adding more detail and texture to the hair strands you've already sketched. Start to better define the edges of the strands, making soft and natural curves. Add some thin lines in different directions to simulate the shine and depth of the hair. Remember to keep the flow of the hair in mind, creating a more organic and realistic look. At the end, check if some parts still seem loose, this will help give movement to the drawing!
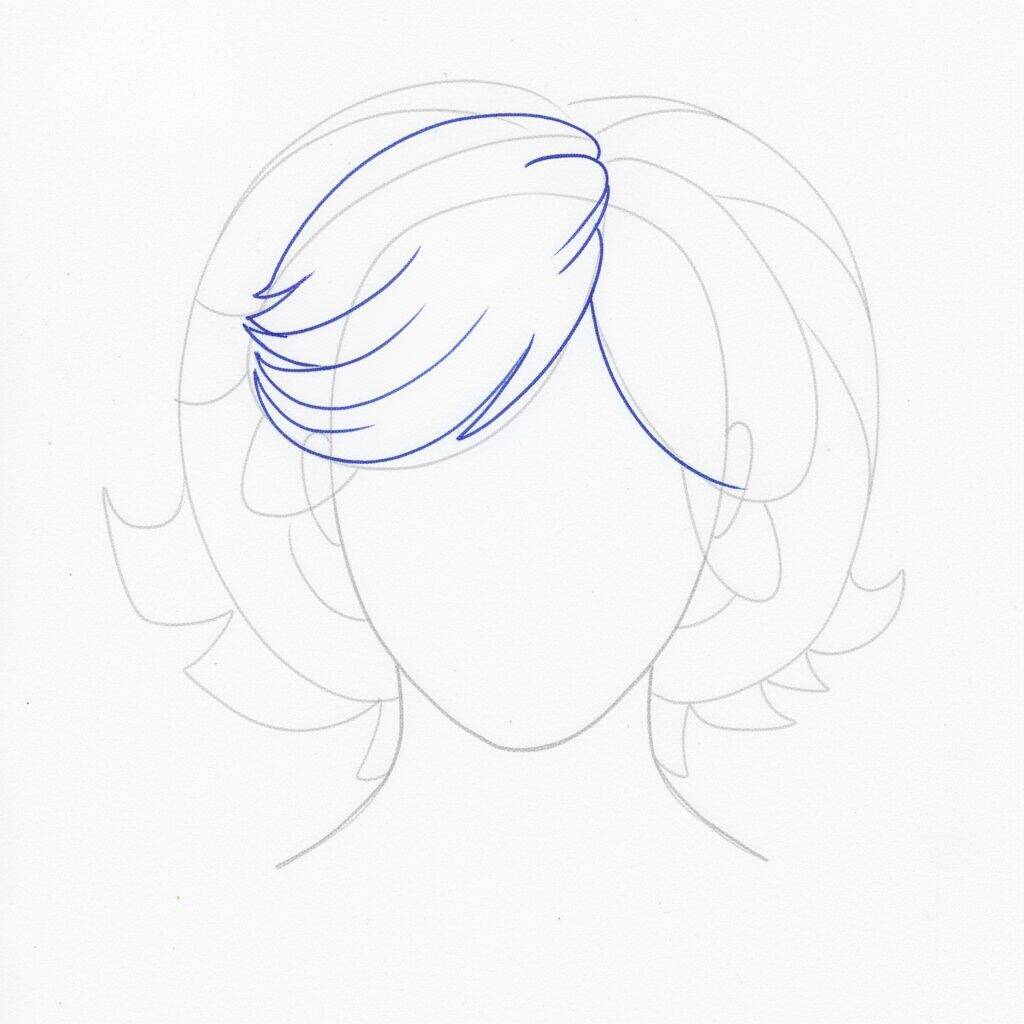
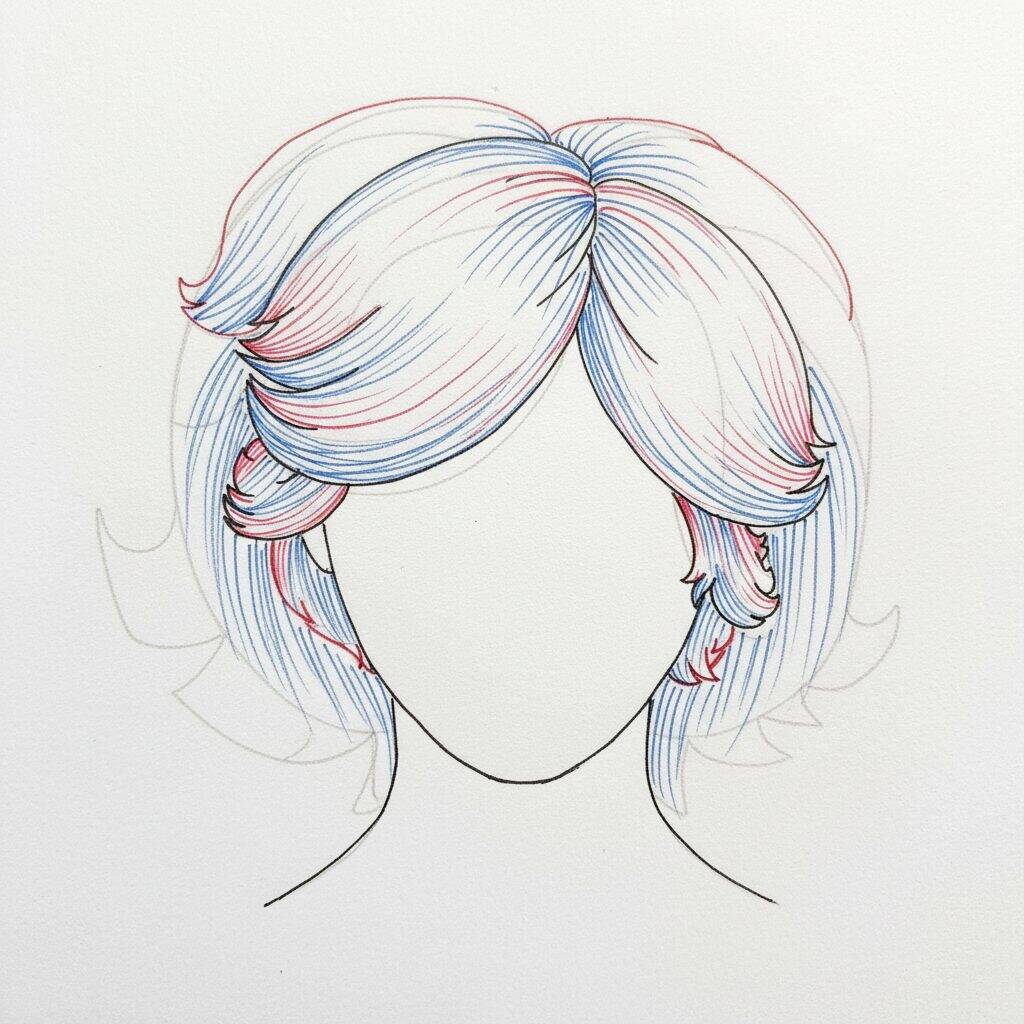
Step 5 of 10
Now, let's work on defining the hair strands. Start adding more details to the areas you've already sketched, focusing on the curves and waves of the hair. Use soft, organic lines to create a more natural effect. Add some additional lines in varying directions to simulate texture and shine. Remember that hair has movement, so don't hesitate to leave some parts a little loose to bring your design to life!
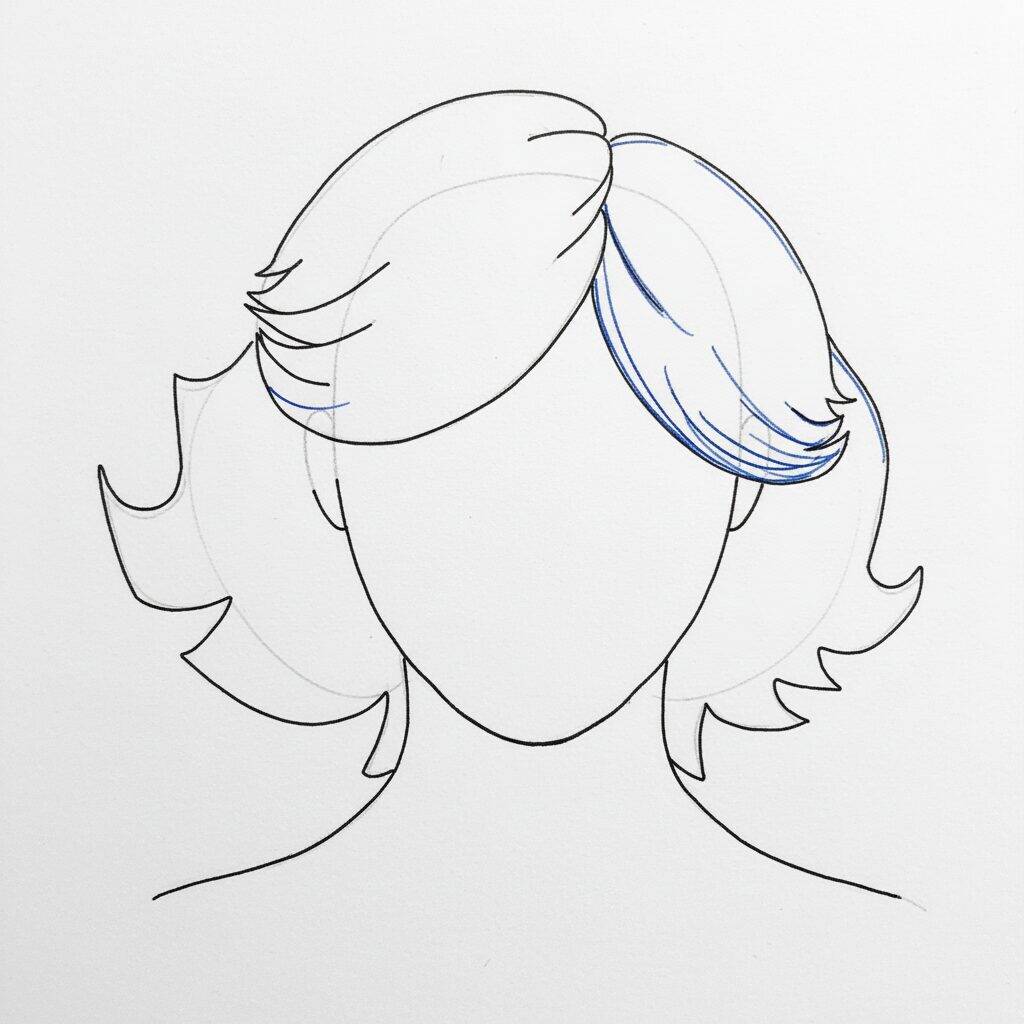
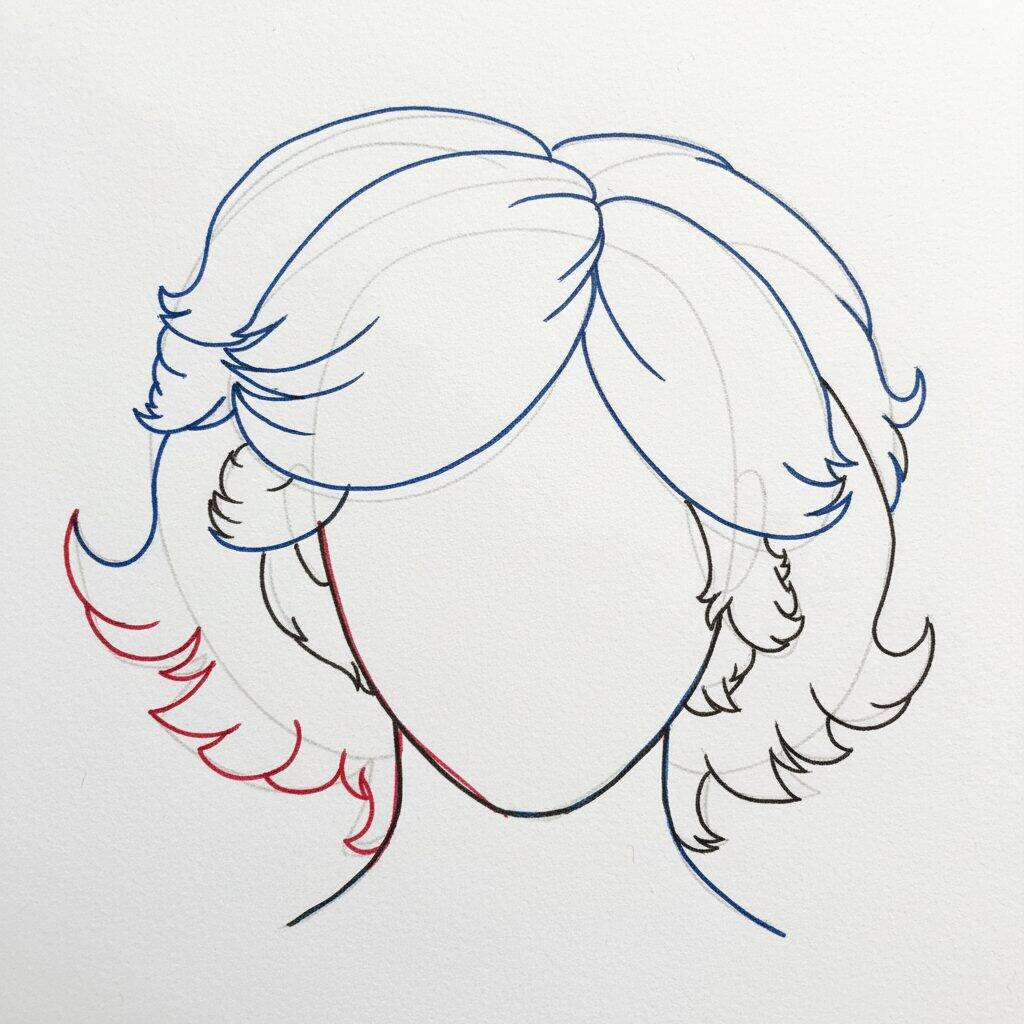
Step 6 of 10
Now, let's work on finishing the hair sections. Focus on adding more details in the areas that are already sketched. Use soft lines to define the ends of the strands and create a movement effect. Don't forget to add some short, thin lines to represent the shine and texture of the hair. Remember that hair is dynamic, so leave some parts slightly loose to give your design a more natural touch!
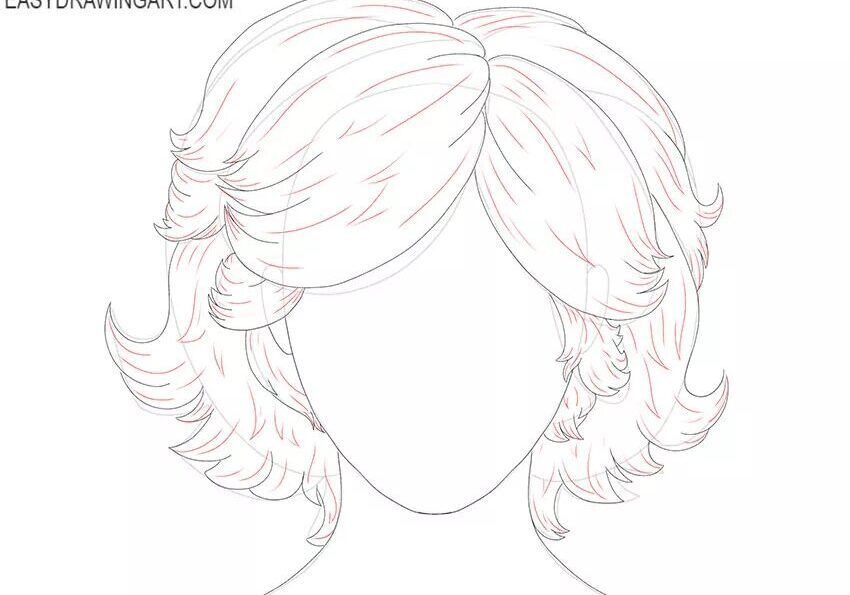
Step 7 of 10
Now that you've defined the hair highlights, it's time to add shadows and depth. Choose a shade darker than the base of your hair and gently apply it to areas where light doesn't reach as much, such as the roots and under the strands. Use a finer pencil or pen to create subtle lines that mimic the texture of your hair. This will help give your drawing a more realistic and three-dimensional look.
Step 8 of 10
Now, let's work on the hair sections. Start adding details to the ends of the strands, drawing small curves and waves. This will give your hair a more natural and dynamic effect. Then refine the contour lines, softening where necessary to create a more fluid look. Remember to keep the lines light so the hair looks light and loose.
Step 9 of 10
Now, it's time to add the shadows and highlights to the hair. Start identifying the areas where the light hits and where the shadows are deepest. Use a darker pencil to create shadows at the roots and in the inner parts of the strands. Then, with a lighter pencil or eraser, add small highlights at the ends and areas where the light hits directly. This will help give your drawing more dimension and realism.
Step 10 of 10
To finalize your realistic hair drawing, review the shadows and highlights you added. Make sure the transitions between light and dark areas are smooth, creating a more natural effect. If necessary, use a white pencil or eraser to intensify the highlights. This will give your hair a healthy shine and the three-dimensional look you want. Congratulations on your work!