


📐 How to Draw — Step by Step
Step 1 of 8
To start drawing an airplane, start by tracing the basic shape of the body. Draw a long, slightly curved line, which will be the fuselage. At the front, make a gentle curve to represent the nose of the plane, and at the rear end, taper the shape to create the tail. This shape will be the main structure of your plane.
Step 2 of 8
Now that you have the plane fuselage, it's time to add the windows. Draw a curved line on the front of the body to create the outline of the cabin. Next, draw rectangles or squares to represent the pilot and passenger windows, positioning them along the fuselage. Remember to leave space between the windows to give a more realistic look. You can add a slight outline to make these windows stand out.
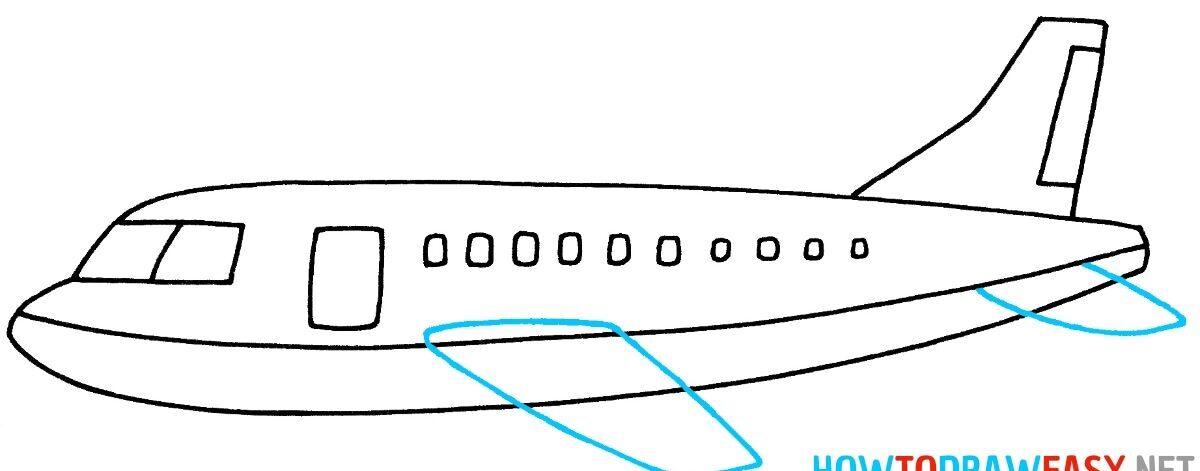
Step 3 of 8
Now that the windows are in place, let's add the plane's wings. Start by drawing two diagonal lines extending from the fuselage, one on each side. Connect these lines with a wider shape, creating the wing. Remember that the wings should be wider at the base and taper towards the tip. For extra flair, add a soft outline around the wings to make them more defined.
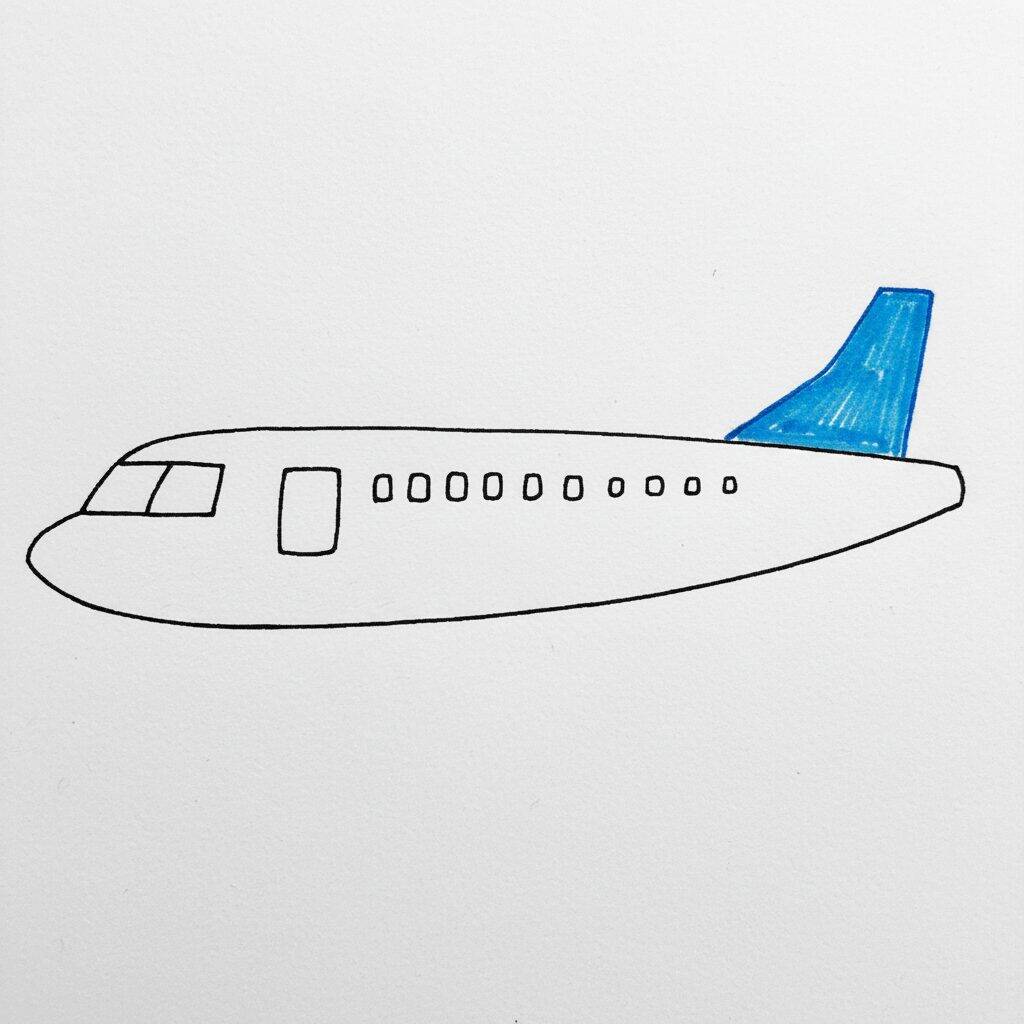
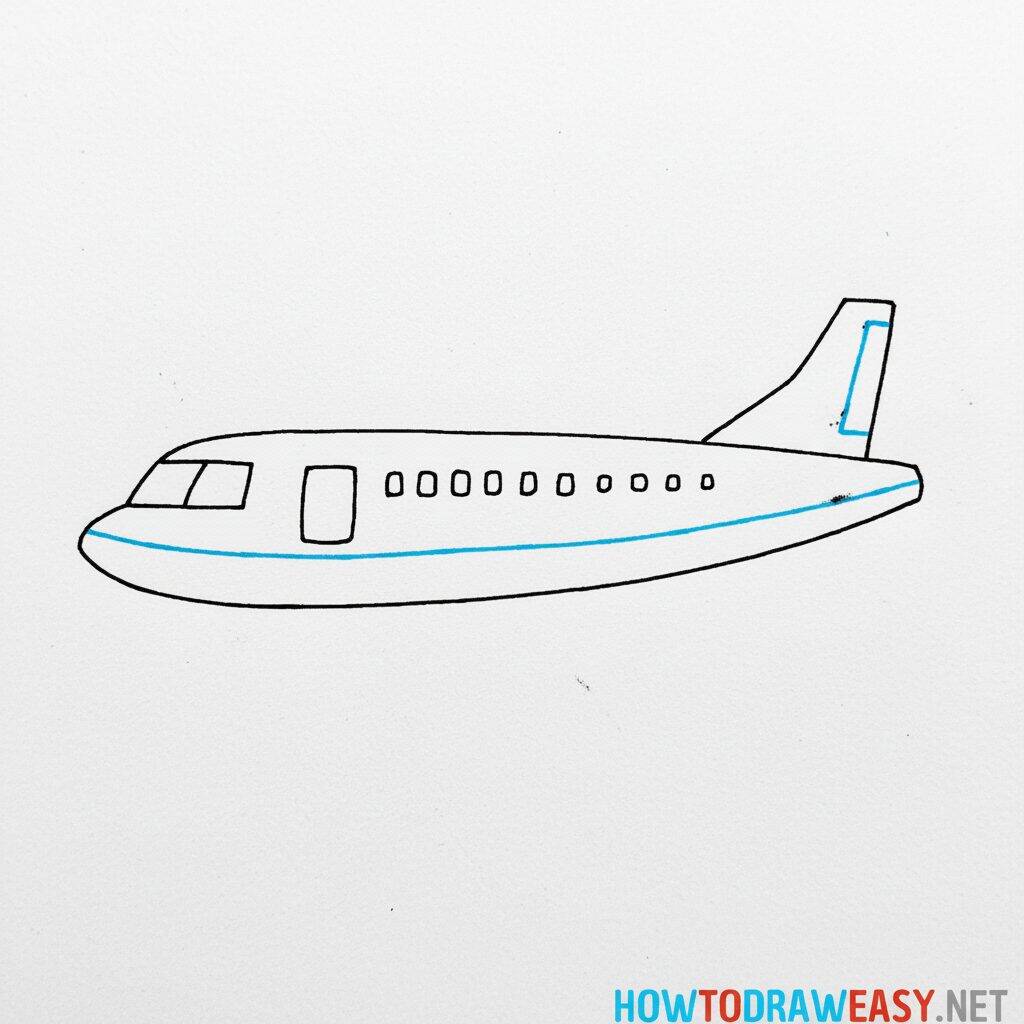
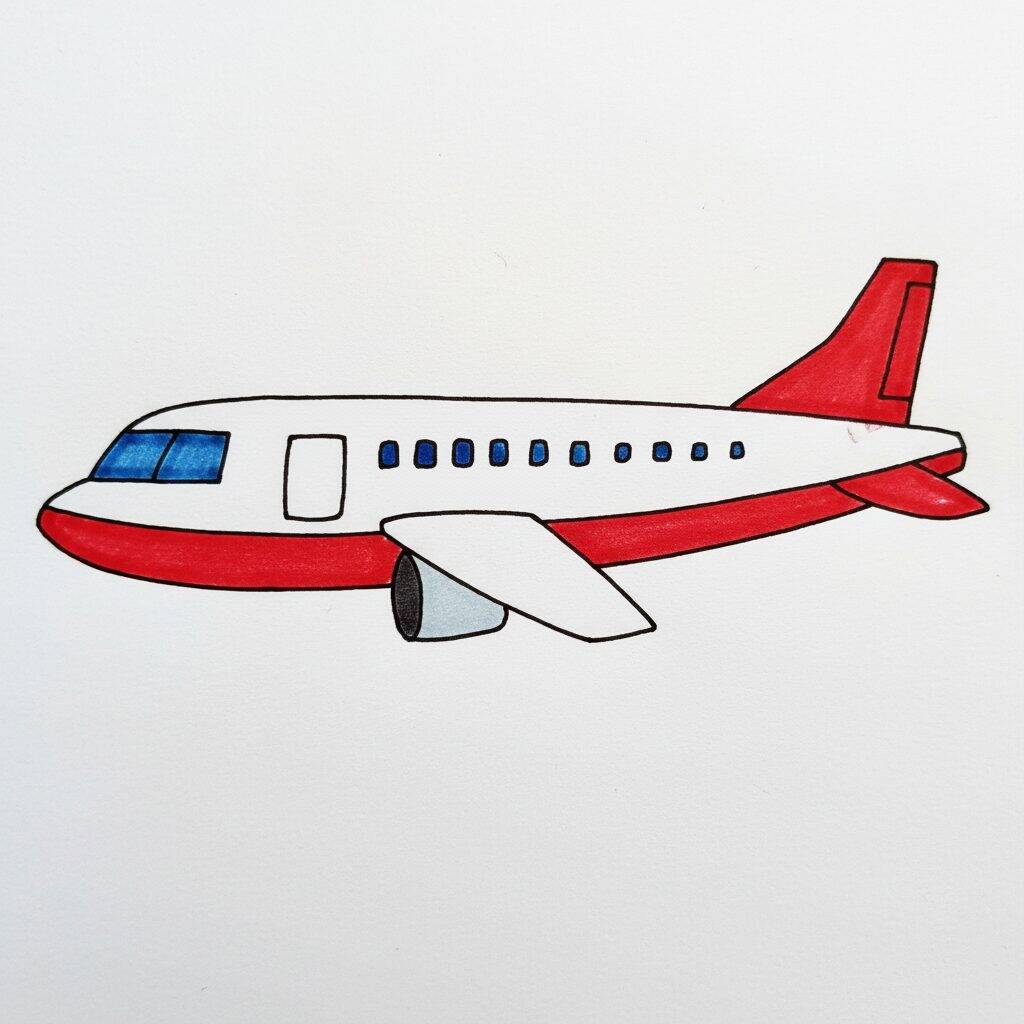
Step 4 of 8
For the next step, let's add details to the body of the plane. Start by drawing a curved line across the top of the fuselage to create the plane's aerodynamics. Then add a similar line at the bottom, connecting the ends. This will give your drawing a more realistic look. Finally, you can add a touch of color to the design, like blue on the wings and tail, to make it more vibrant.
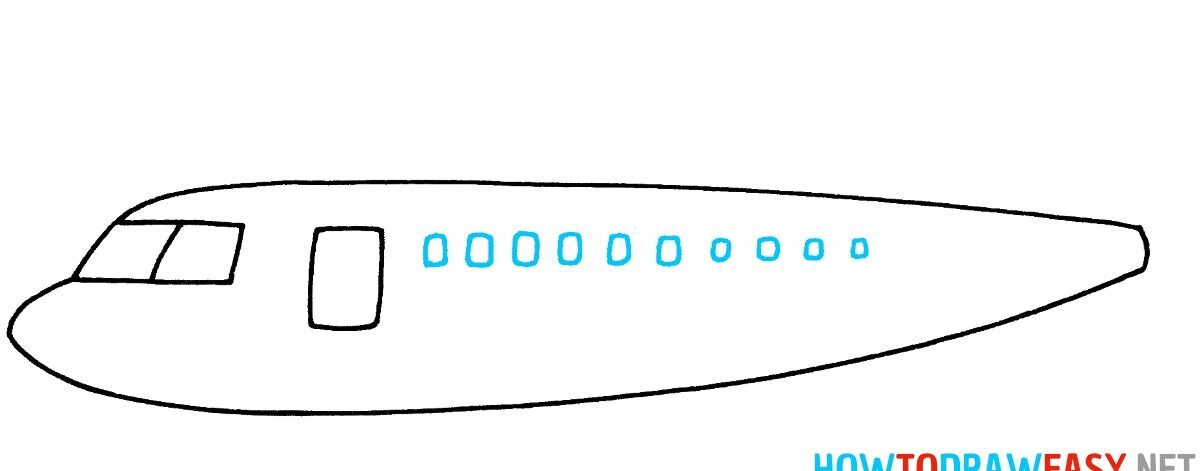
Step 5 of 8
For the next step, let's work on the plane's windows. Start by drawing rounded rectangles along the fuselage, ensuring they are aligned and proportionate. Add a small detail inside each window, like an outline, to give the impression of depth. This will help bring your drawing to life and make the plane more interesting!
Step 6 of 8
For this step, we will add the details of the plane's wings. Start by drawing a smooth line across the bottom of the fuselage, creating the shape of the wing. The wings should be wide at the base and taper slightly at the tips. Then add a curved line at the top for volume. Don't forget to include a little float at the tip of the wing for an extra touch of realism.
Step 7 of 8
Now that you've added details to the plane's body, it's time to work on the wheels. Draw a circle for each wheel, positioning them below the body of the plane. Make sure the wheels are proportionate to the size of the plane. Then add a small rectangle or line to represent the wheel support. This will give your creation more realism.
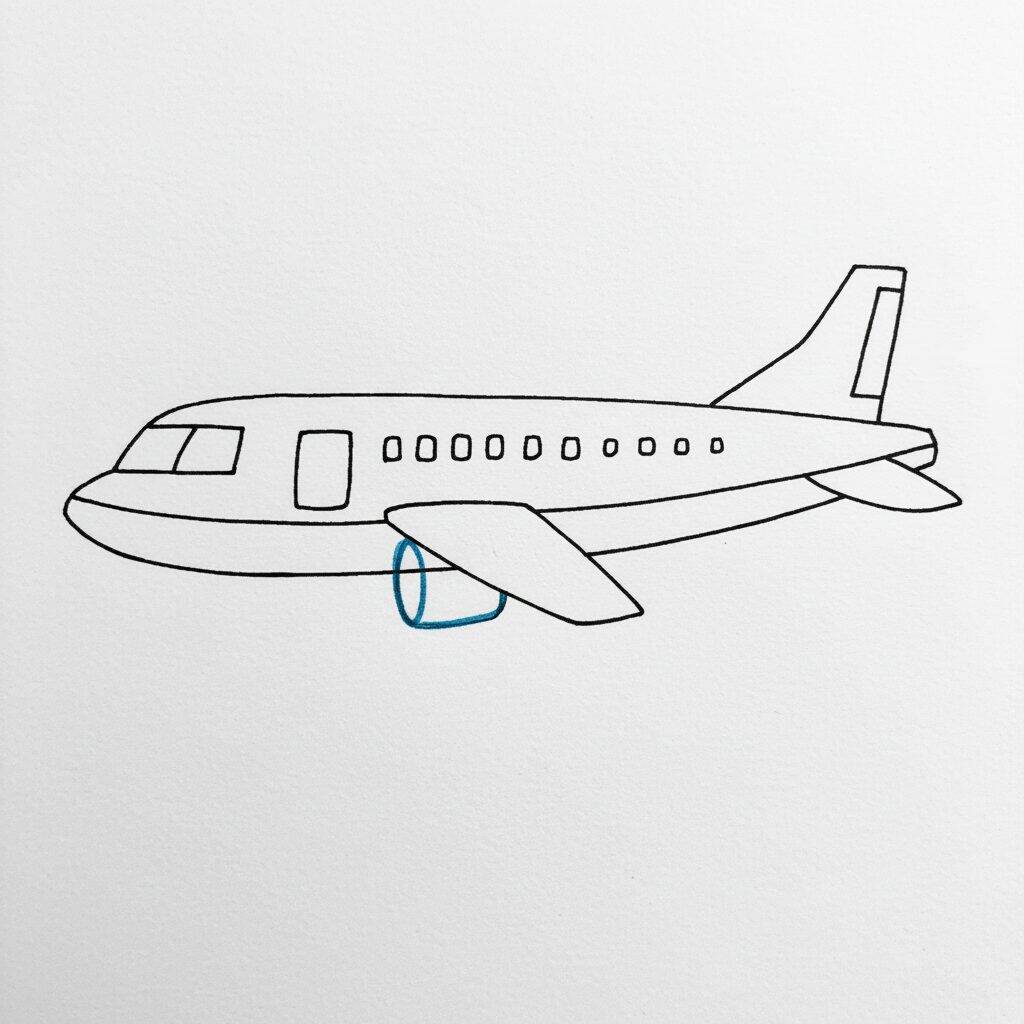
Step 8 of 8
Now that you've finished the wheels, it's time to put the finishing touches on your plane. Start by adding details like windows and contour lines to the wings and tail. Use a black pencil or pen to emphasize these areas and ensure everything is well defined. Finally, review the drawing, erasing any guidelines that are still visible. Your plane is ready to take off!