


📐 How to Draw — Step by Step
Step 1 of 10
To start drawing a realistic dragon, start by sketching the head. Draw a slightly elongated oval shape for the head and add a small triangle at the top for the snout. Then draw a curved line that represents the contour of the face and jaw. Remember to keep the lines smooth, as they will serve as the basis for the details that follow.
Step 2 of 10
Now, let's add more details to the dragon's head. Start by drawing the facial features, such as the eyes. Make two ovals for the eyes, positioning them so they look intense and piercing. Next, draw the nostrils, which can be represented by small openings on the front of the snout. Don't forget to add a line to the mouth, giving it a slight contour that suggests a fierce expression.
Step 3 of 10
Now let's work on the dragon's body. Start by drawing the spine, connecting it to the head with a curved line representing the neck. Then add lines that form the torso, creating an outline that tapers towards the tail. For the paws, sketch simple shapes that resemble arms and legs, making sure to position them so they look natural. This will give a solid foundation for the details that follow.
Step 4 of 10
Now that we have the base of the dragon's body, let's add more details. Start by sketching the head with more definition, outlining the eyes and nostrils. Then refine the paws, adding claws and muscles to give them a more realistic look. For the neck, draw some scales or lines that suggest texture. This will help bring your dragon to life as you move on to the next steps!
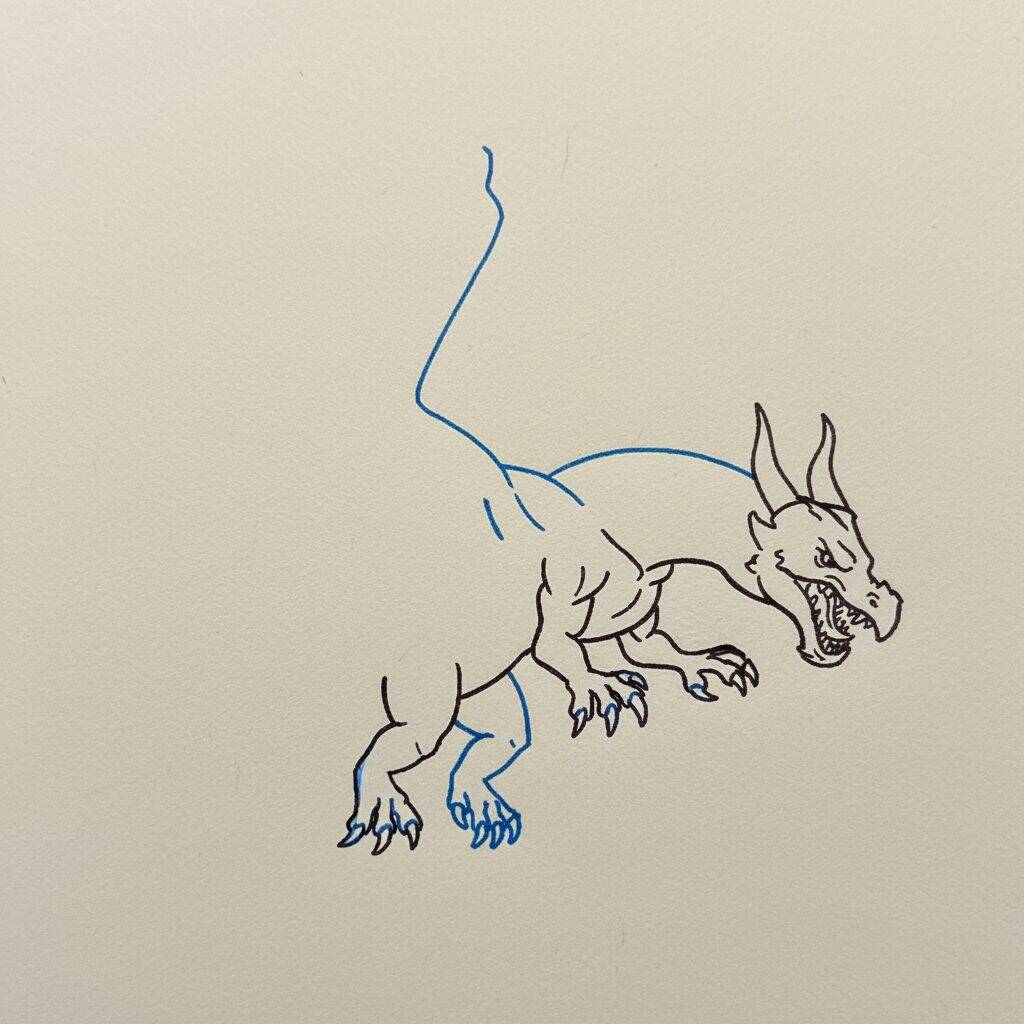
Step 5 of 10
Now that the dragon's head and legs are defined, let's work on the wings. Start by drawing the basic structure of the wings, which resemble an elongated triangle. Connect the wings to the body, using curved lines to give the impression that they are extending. Don't worry about the details in this step; the focus is on ensuring the shape of the wings is correct. Then you can add textures and details in the next steps.
Step 6 of 10
Now that the wings are sketched, let's detail the dragon's body. Start to better define the muscles, drawing curved lines that emphasize the muscles of the shoulders and chest. Add details to the paws, such as claws and joints, to give more realism. Remember to maintain the proportion of the body in relation to the head and wings, ensuring a harmonious appearance.
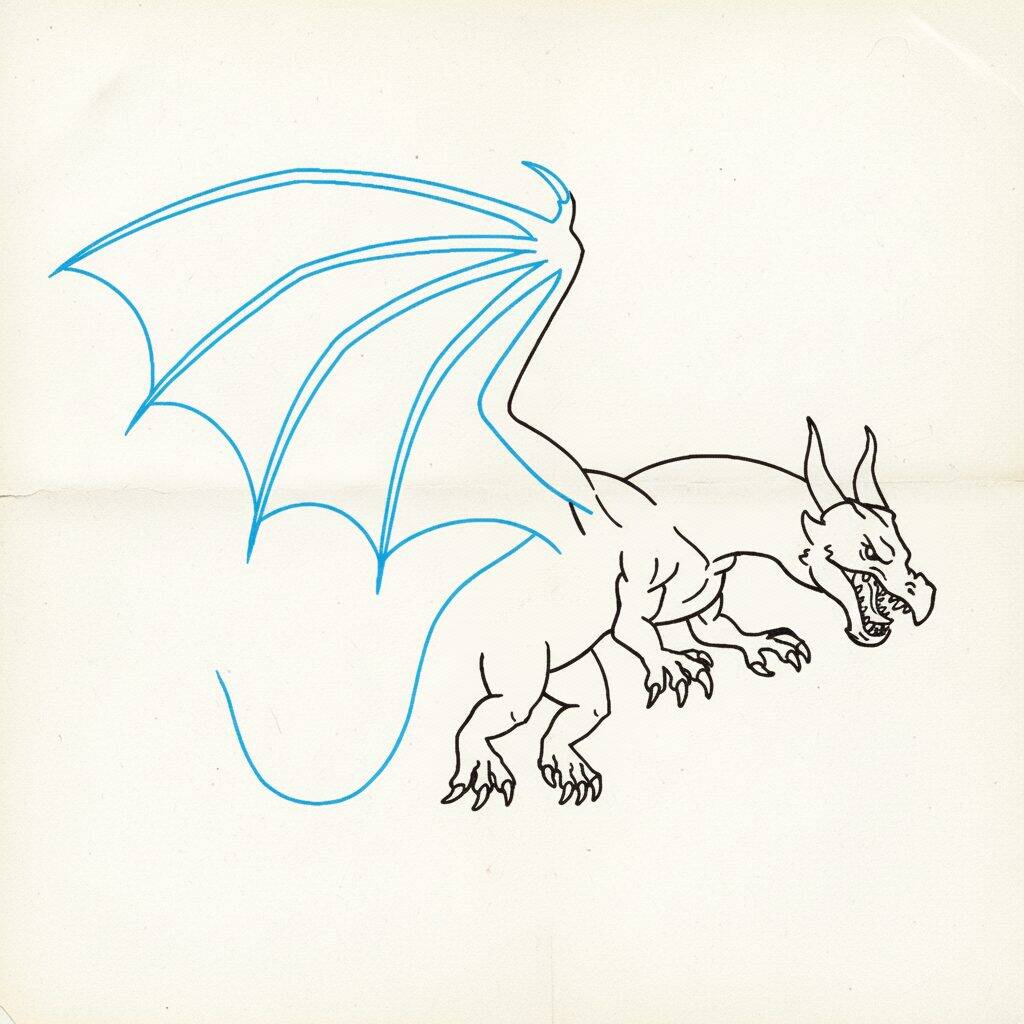
Step 7 of 10
Now that the dragon's body is more defined, let's work on the wings. Start by adding details to the wing membranes, drawing lines that connect the top of the wings to the body. These lines should be smooth and flowing, to give a sense of movement. Then refine the edges of the wings, ensuring they look robust and realistic. Don't forget to maintain harmony with the rest of your body!
Step 8 of 10
For this step, we will add more details to the dragon's wing membranes. Start by drawing curved lines inside the wings, creating a texture that resembles veins. This will give a more organic and realistic look. Next, refine the claws on the wing tips, making them more defined and sharp. Remember to stay consistent with the dragon body style!
Step 9 of 10
For this final step, let's add the finishing touches to your dragon. Start by shading the wing and body areas to give more depth. Use soft, curved lines to create a shadow effect, especially in the folds of the wings and under the body. Then highlight the scales with thin strokes, adding texture. Finally, review the details of the face to ensure the dragon's expression is well defined.
Step 10 of 10
For this final step, let's add the finishing touches to your dragon. Start by shading the wing and body areas to give more depth. Use soft, curved lines to create a shadow effect, especially in the folds of the wings and under the body. Then highlight the scales with thin strokes, adding texture. Finally, review the details of the face to ensure the dragon's expression is well defined.