


📐 How to Draw — Step by Step
Step 1 of 9
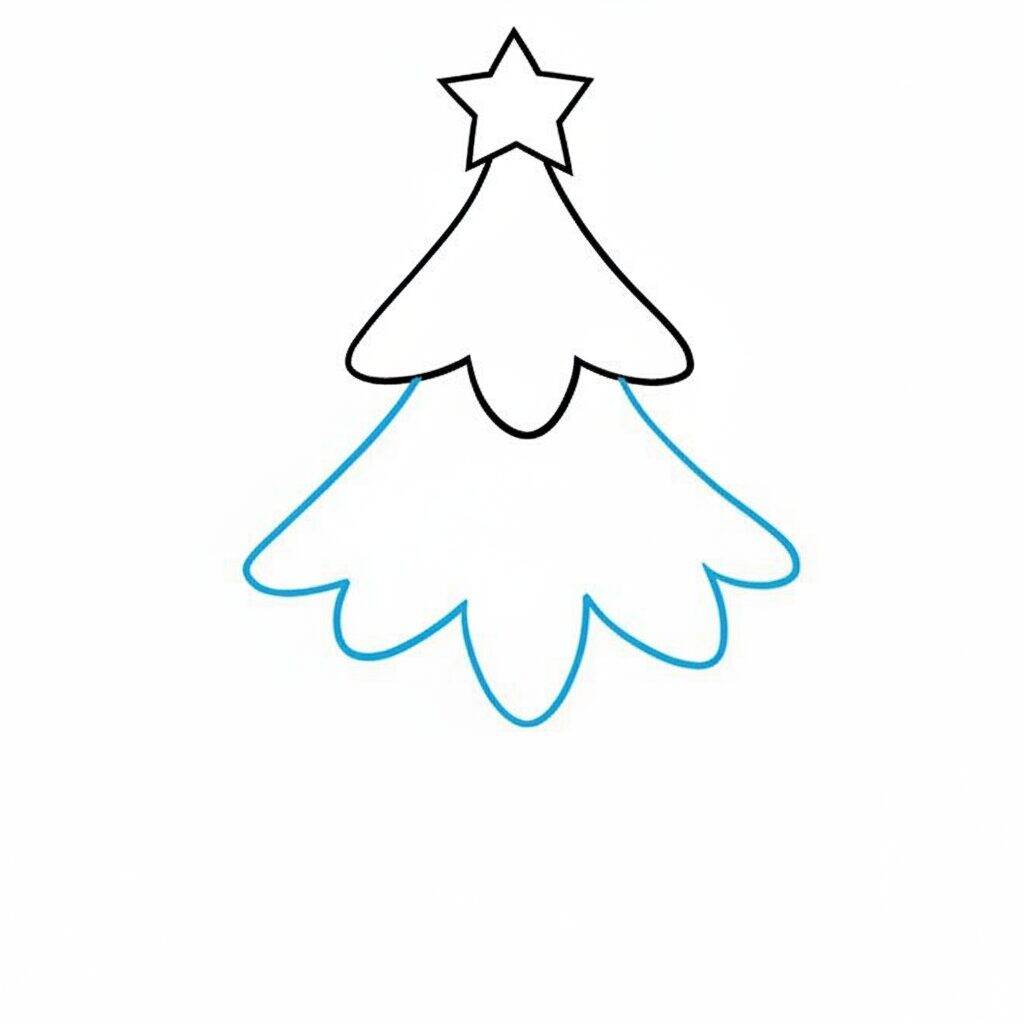
To start drawing your Christmas tree, draw a large triangular shape, which will be the body of the tree. At the top, add a star, which can be made with a five-pointed design. Make sure the star is proportional to the tree. With these basic shapes, you will have the initial structure of your tree ready for the next details!
Step 2 of 9
Agora, vamos adicionar um pouco mais de forma à sua árvore de Natal. Comece a desenhar as camadas das folhas, fazendo linhas onduladas nas laterais do triângulo. Essas linhas devem criar um efeito de "camadas" na árvore, dando a impressão de galhos e folhas. Lembre-se de que as camadas devem ser mais largas na parte inferior e mais estreitas na parte superior. Isso ajudará a dar volume à sua árvore!
Step 3 of 9
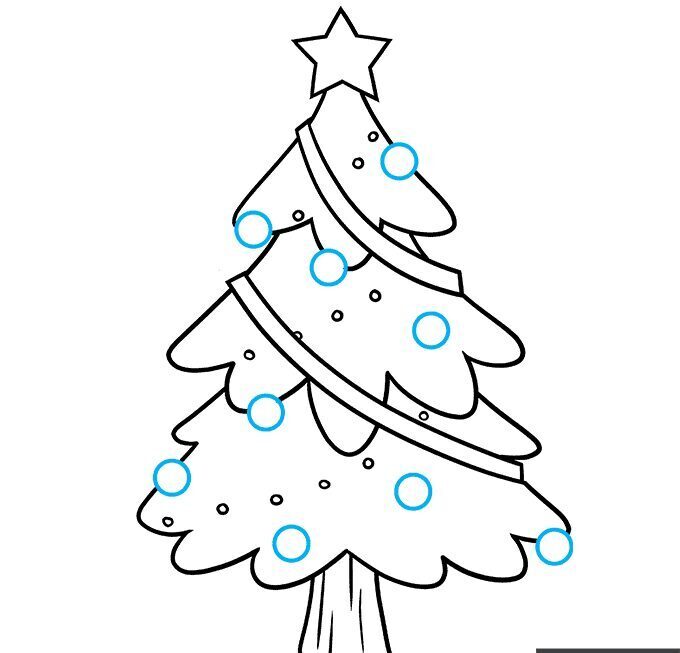
For the next step, let's work on the details of your Christmas tree. Start adding some curved lines to the leaf layers, emphasizing the texture. These lines should follow the contour of the leaves, giving a more realistic look. Then, draw small decorations, like polka dots or stars, on the layers of the tree to make it more festive. Don't worry about being perfect; the important thing is to have fun!
Step 4 of 9
For this step, we're going to add a garland to your Christmas tree. Start by drawing a curved line that wraps around the tree, creating a smooth movement. Then draw another line parallel to the first, to give the appearance of a ribbon or garland. Don't forget to add some details, like small bows or patterns, to enrich the decoration. Remember to have fun and let your creativity flow!
Step 5 of 9
For the next step, let's add some colorful balls to your Christmas tree garland. Start by drawing small circles along the tape, spacing them evenly. These circles will represent the decorations. Feel free to vary their size for a more dynamic effect. Then you can add other decorations, like stars or bells, to make your tree even more festive!
Step 6 of 9
Now that you've added the colorful balls to the garland, it's time to bring your Christmas tree to life! Start by drawing the star at the top of the tree. Make a five-pointed star shape, ensuring the ends are well defined. Then add some details to the star, like internal lines to give it a three-dimensional effect. This will make your tree shine even brighter!
Step 7 of 9
Agora que você desenhou a estrela no topo da árvore, é hora de adicionar mais detalhes! Comece desenhando algumas bengalas de doces ao longo da árvore. Para isso, desenhe um formato em "J" para cada bengala e adicione listras diagonais para dar a impressão de que são coloridas. Posicione as bengalas de maneira que fiquem equilibradas entre as bolinhas coloridas da guirlanda. Isso trará um toque festivo à sua árvore!
Step 8 of 9
Now that the candy canes are in place, let's add more decorations to your tree! Draw some small bells on top of the canes, using bell shapes and a small bow on the top of each one. Don't forget to leave space between the bells and other decorations. This will give your Christmas tree a more cheerful and festive effect!
Step 9 of 9
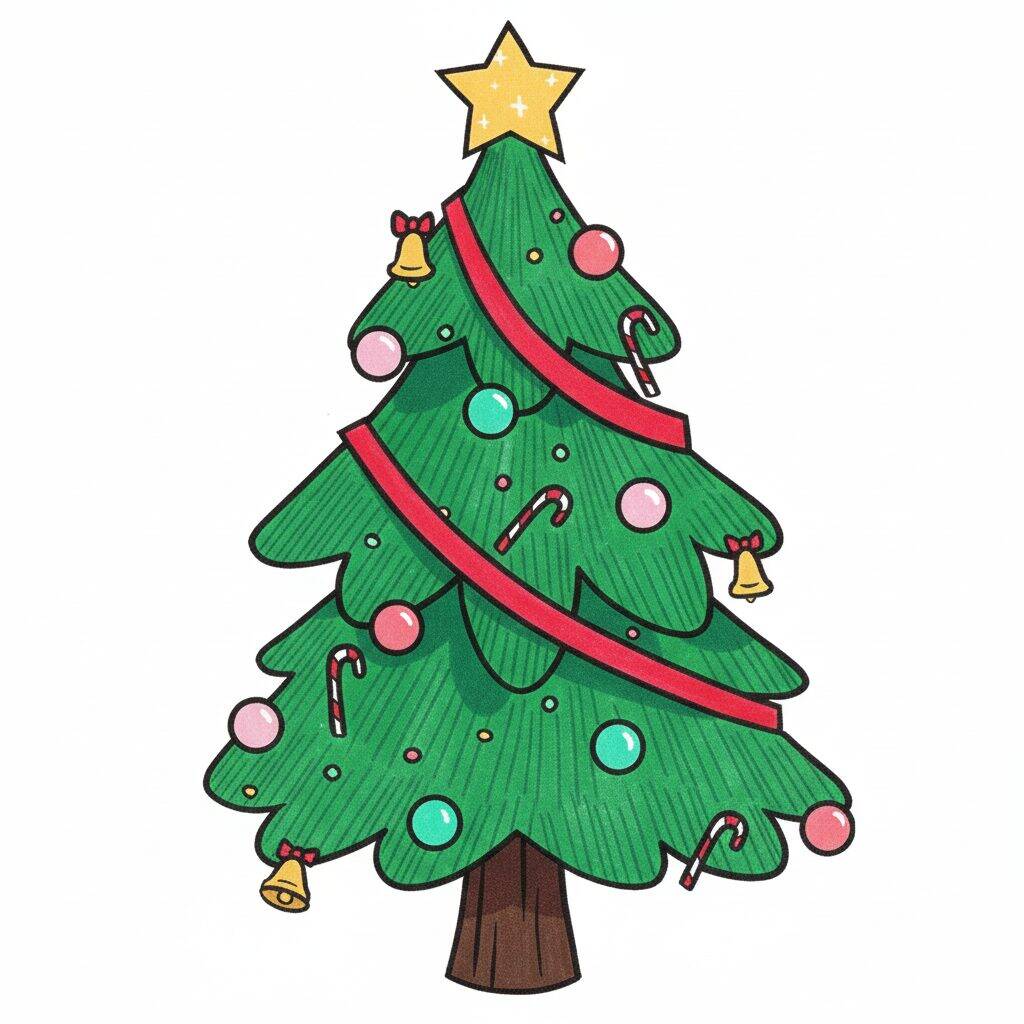
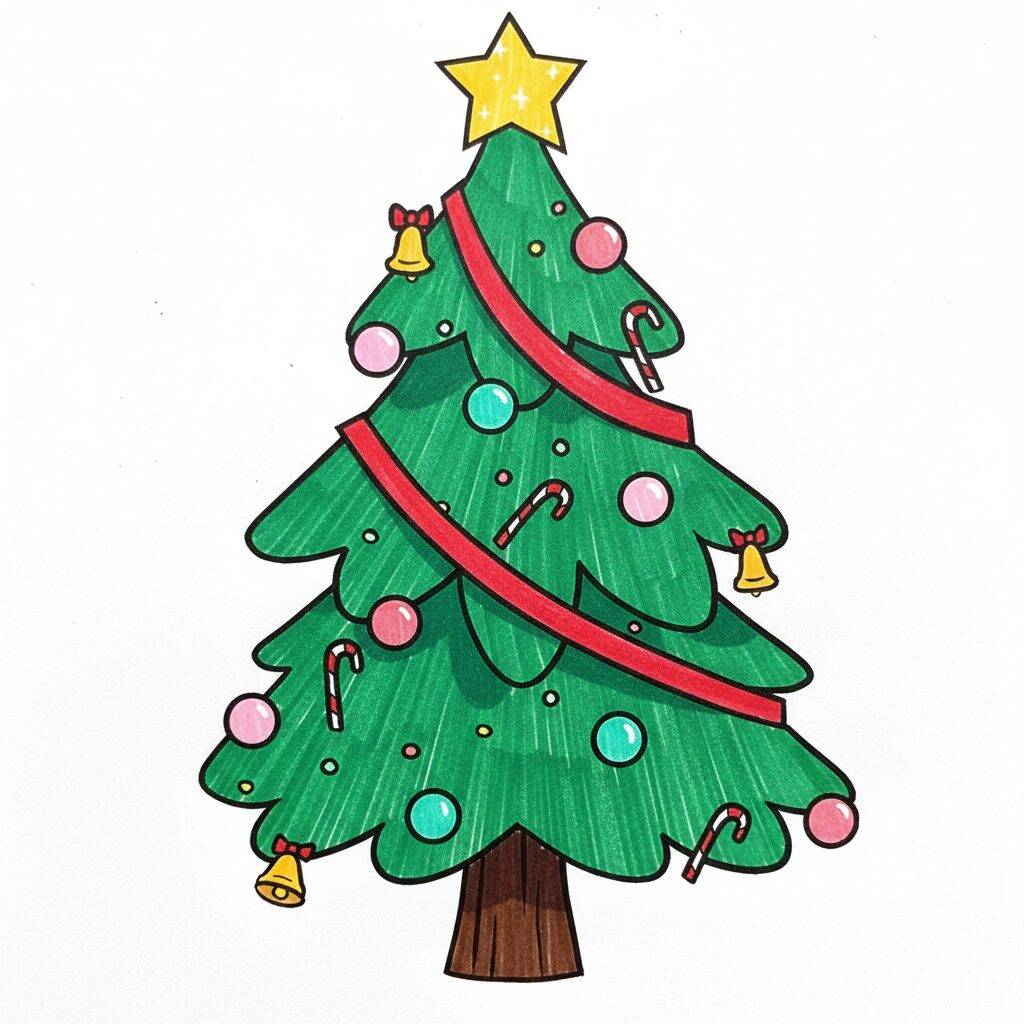
Now that your Christmas tree is almost ready, it's time to add the finishing touches! Start by drawing a bright star at the top of the tree. Make a five-pointed star shape and fill it with a vibrant yellow color. Then go over the ornaments, adding some sparkle and shadow to bring more life to your tree. Ready! Your Christmas tree is complete and full of joy!