
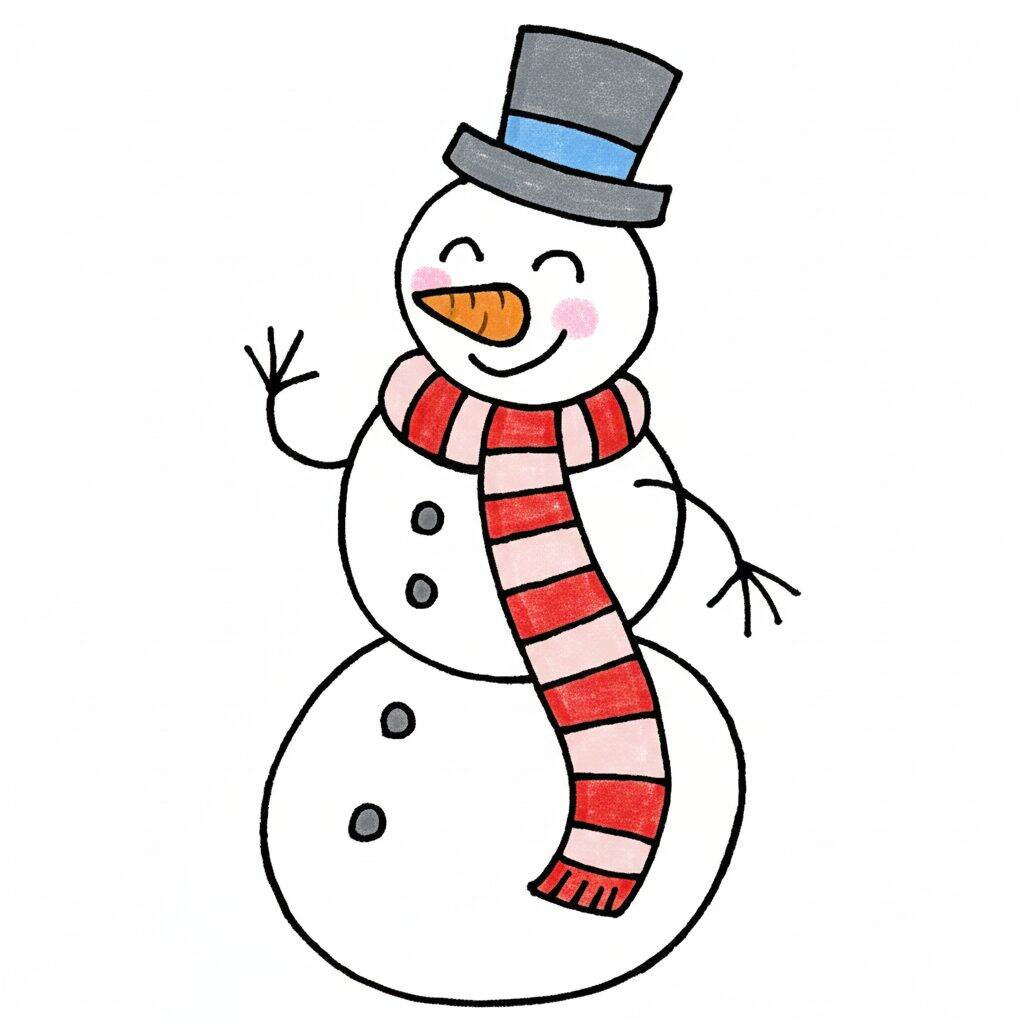


📐 How to Draw — Step by Step
Step 1 of 9
To start drawing the snowman, draw a tall, cylindrical hat at the top of your sheet. The hat should have a flat top and a slightly curved edge at the bottom. Use soft lines for a friendly touch. Remember to leave space below for the snowman's body that you will add in the next steps.
Step 2 of 9
Now, let's draw the snowman's head. Below the hat, make a large circle that will be the head. Make sure the circle is centered in relation to the hat. Use soft lines to give it a friendly, fun look. Once you've drawn the circle, you can add details like eyes and a smile later. Remember to keep the outline light to make corrections easier.
Step 3 of 9
Now, let's add some details to the snowman's head. Start by drawing two small circles for the eyes, making sure they are well positioned. Next, draw a carrot-shaped nose, which can be an elongated triangle, and place it in the center of the face. For the smile, draw a curved line that brings a happy look. These details will bring your snowman to life!
Step 4 of 9
Now that the snowman's head is complete, let's add the body. Start by drawing a curved line that goes from the chin to the base, forming the torso. Then, draw two arms coming out from the sides of the body, using curved lines to give a more natural look. Then draw a hat on top of the head, with a rectangular shape at the top and a wide brim. This will add a charming touch to your snowman!
Step 5 of 9
Now that the snowman's body and hat are ready, let's add details! Start by drawing a friendly smile on your face, with a gentle curve for your mouth. Then draw two round eyes and a carrot-shaped nose. Then add a scarf around the neck, using wavy lines to give a sense of movement. You can also add stripes to the scarf to make it more fun.
Step 6 of 9
Now that the snowman's face and scarf are ready, let's add some more details! Start by drawing buttons on the doll's body, using circles or small dots. Place them in a vertical line on the torso, slightly below the neck. Then you can add some sprigs as arms by drawing thin lines coming out of the sides of the body. This will bring your snowman to life!
Step 7 of 9
Now that the snowman has buttons and arms, let's work on the hat! Draw a rectangle on top of the head to form the base of the hat. Then add an oval shape on top of the rectangle to create the top of the hat. Remember to keep the lines soft and rounded to give your snowman a friendly touch.
Step 8 of 9
Now that the hat is in place, let's add the final details to your snowman! Start by drawing a scarf around the neck, using wavy lines to give an effect of movement. Then add the buttons to the front of the body, making small circles. Lastly, draw a smile and eyes to bring your snowman to life. Remember to use vibrant colors to make it even happier!
Step 9 of 9
Congratulations! You have completed your snowman! Now, to finish, review all the details. Check that the scarf, buttons, smile and eyes are the way you want them. If you want, add a little shadow to give it more depth. Don't forget to use bright, vibrant colors to make your snowman even more charming! Show your art with pride!