


📐 How to Draw — Step by Step
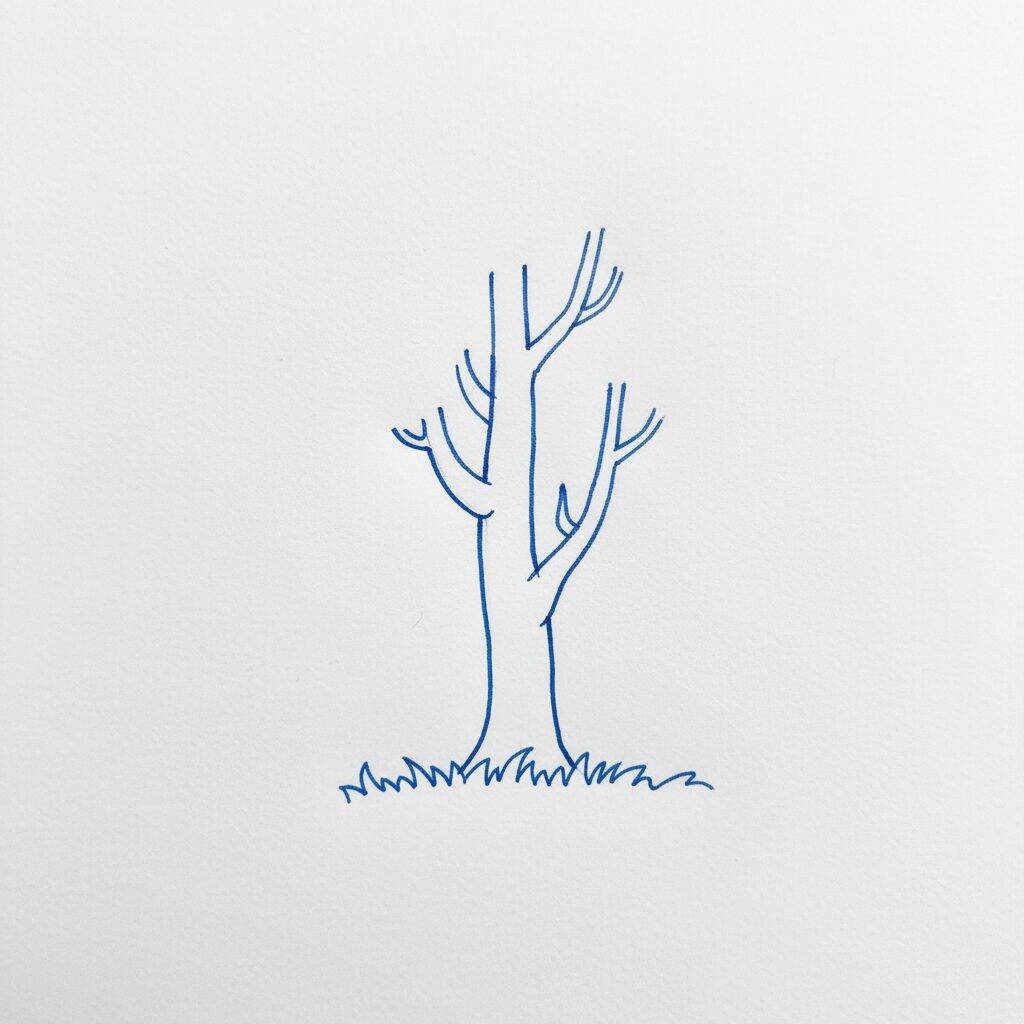
Step 1 of 10
To start drawing the tree, draw the trunk, which should be wider at the base and thin as it goes up. Then add some branches sticking out from the trunk in different directions. Remember that branches can be curved and branched. Finally, draw a grass line at the base of the trunk to give it a sense of terrain.
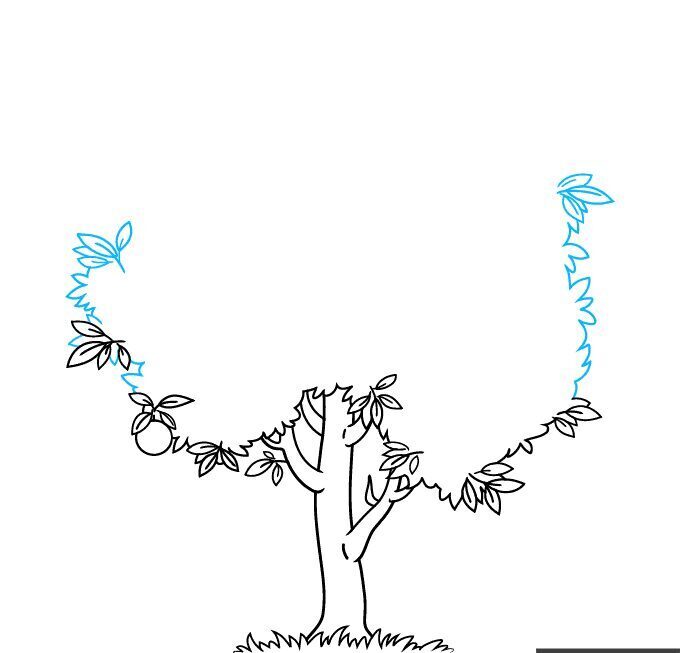
Step 2 of 10
Now, let's add the leaves to your tree! Start by drawing oval or rounded shapes at the ends of the branches you created. Vary the size of the leaves to give a more natural appearance. Keep in mind that some sheets may overlap, so don't be afraid to overlap some of them. To finish, add small internal lines to the leaves to represent the veins. This will add an extra touch of detail!
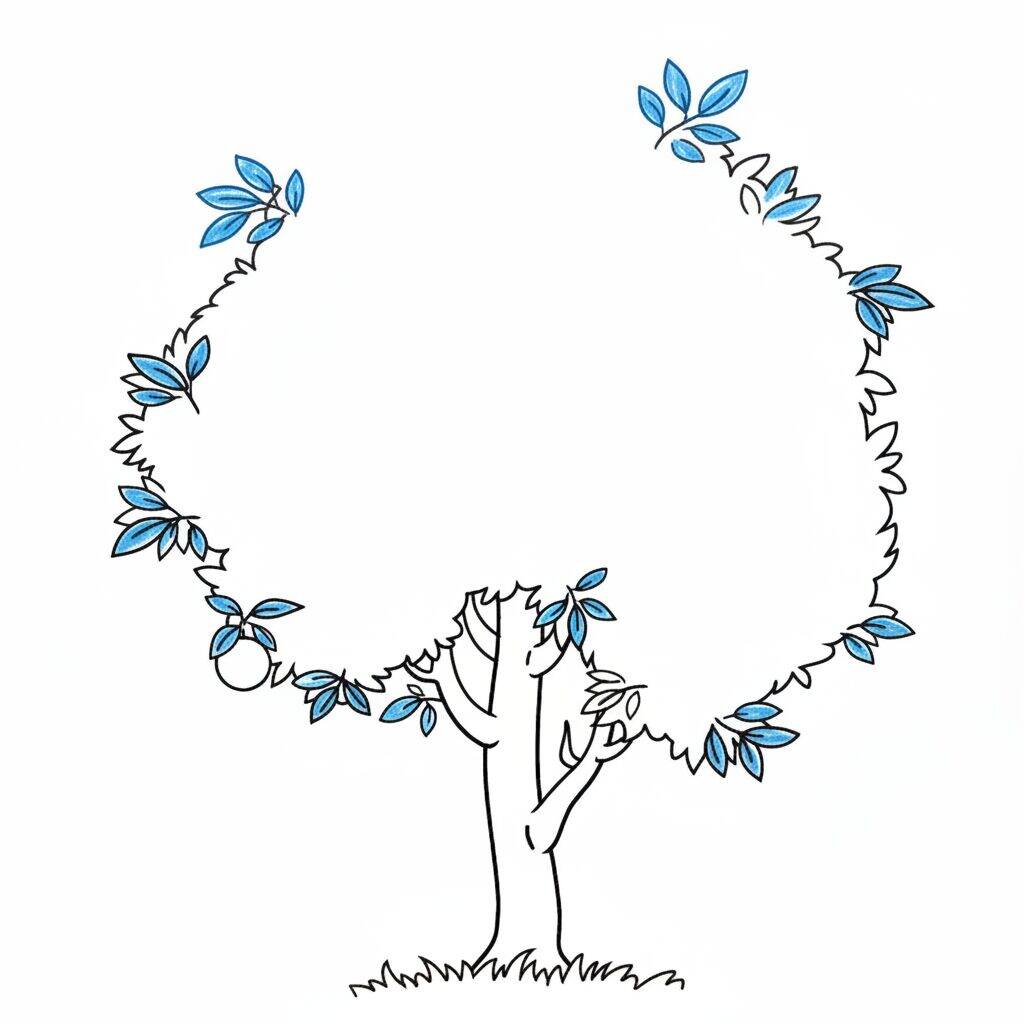
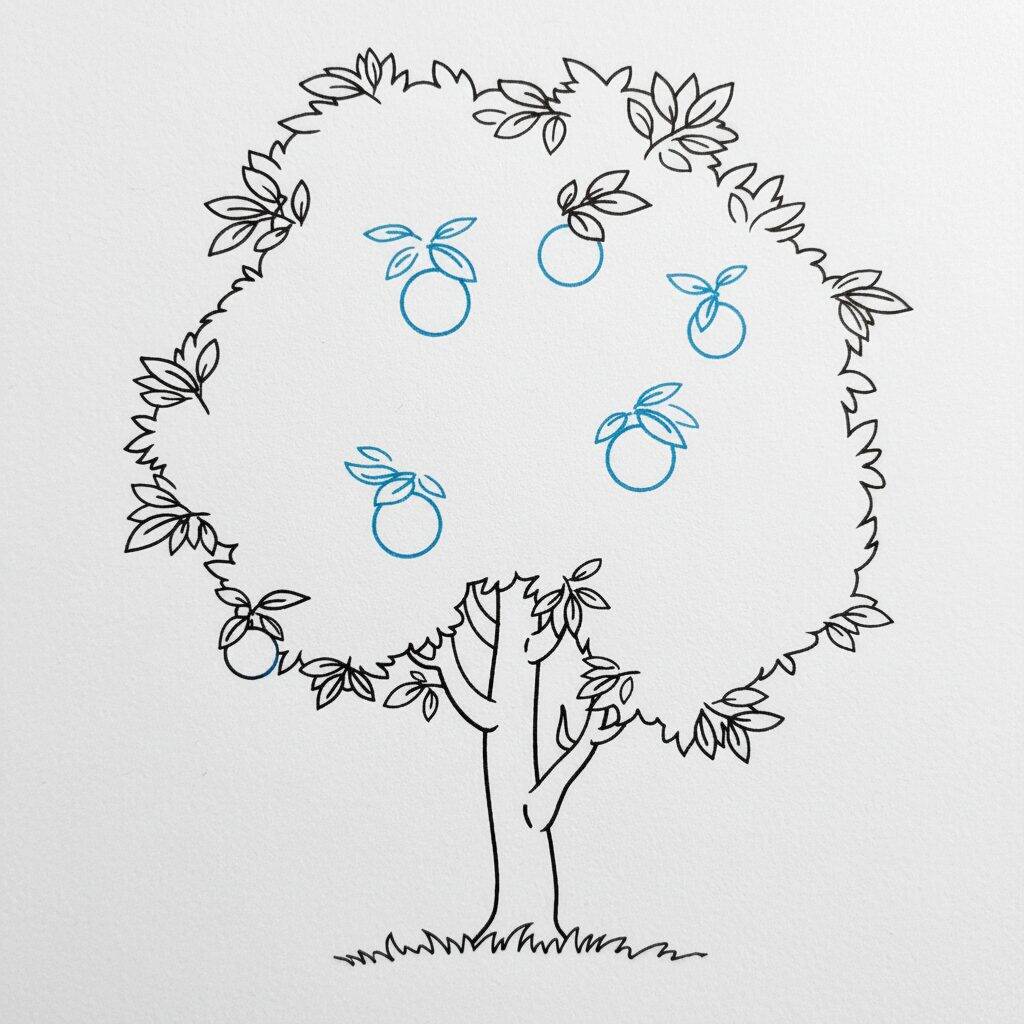
Step 3 of 10
Now that you've added the leaves, it's time to add more life to your tree! Start drawing some fruits or flowers at the ends of the branches. For fruits, draw round or oval shapes, while flowers can be represented by small petal shapes. Vary the colors you use to make the tree more vibrant. Remember to distribute the fruits and flowers evenly for a harmonious look!
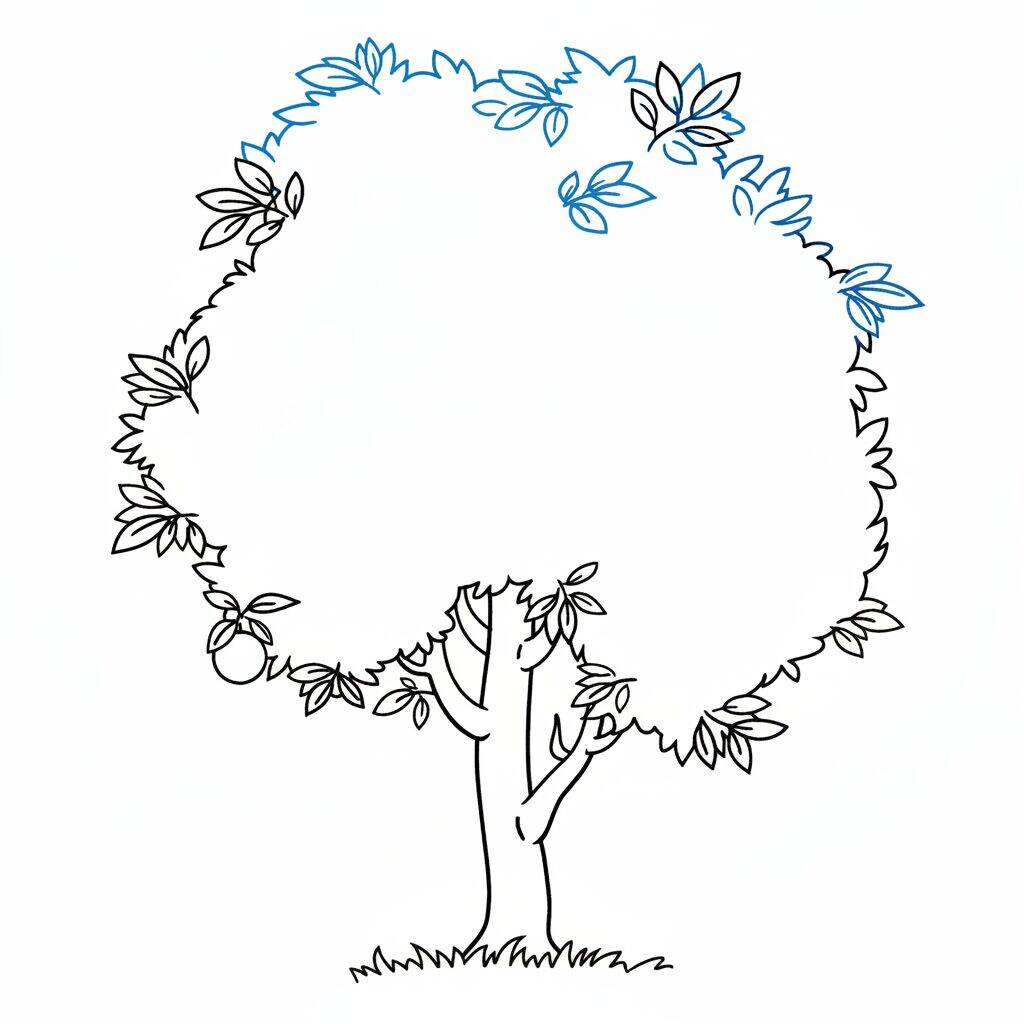
Step 4 of 10
Now that you've added the fruits and flowers, let's work on the details of the tree. Start drawing the texture of the trunk, adding vertical and curved lines to simulate the bark. Don't forget to make some smaller branches coming off the main trunk. This will give your tree a more natural and realistic look. Use a brown tone for the trunk and branches, creating a contrast with the leaves.
Step 5 of 10
Now that you've detailed the trunk and branches, it's time to add more leaves to the tree. Start by drawing ovals or pointed shapes at the ends of the branches. Vary the size and position of the leaves to give a more organic look. Keep in mind that some leaves may overlap others, creating a sense of depth. Use a vibrant green tone Coloring Page the leaves, making small details around the edges to enhance the texture.
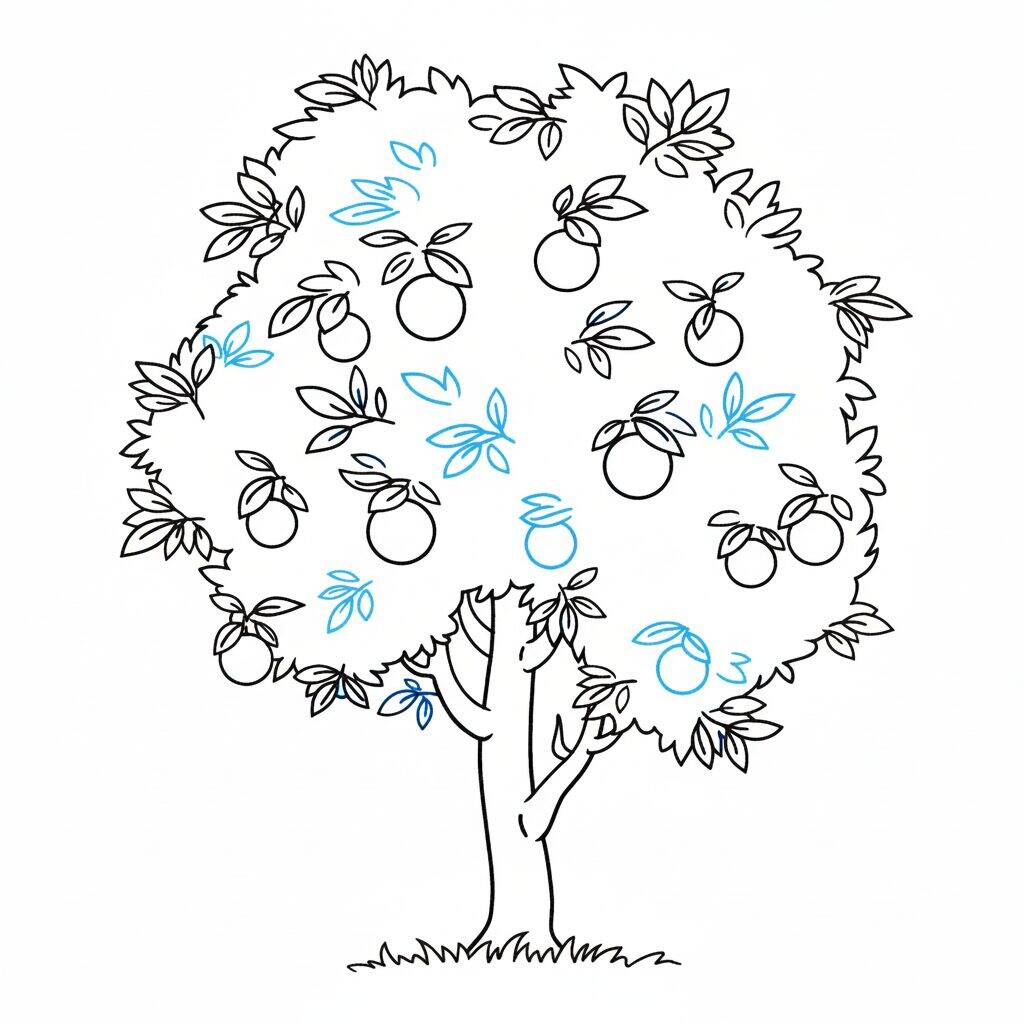
Step 6 of 10
Now that you've added the leaves, it's time to put the finishing touches on your tree. Start by drawing some fruit, if desired, on some of the leaves. Use round or oval shapes and position them evenly between the leaves. Then, refine the edges of the leaves, adding small details like veins to give them more realism. Finally, you can lightly shade the torso to create a three-dimensional effect.
Step 7 of 10
Now that you've added the fruit, let's work on the final details of your tree. Start drawing the textures of the trunk, adding vertical lines to simulate the bark. Then refine the leaves, drawing small veins to give more depth. Lastly, you can add some shadow to the fruits to make them look more realistic. This will make your tree even more vibrant!
Step 8 of 10
For the next step, let's add more details to your tree. Start by drawing small lines and spots on the leaves to represent the texture and give a more realistic effect. Then refine the fruits, adding light outlines and small shadows on the sides to create depth. This will help bring your tree to life, making it more vibrant and full of personality!
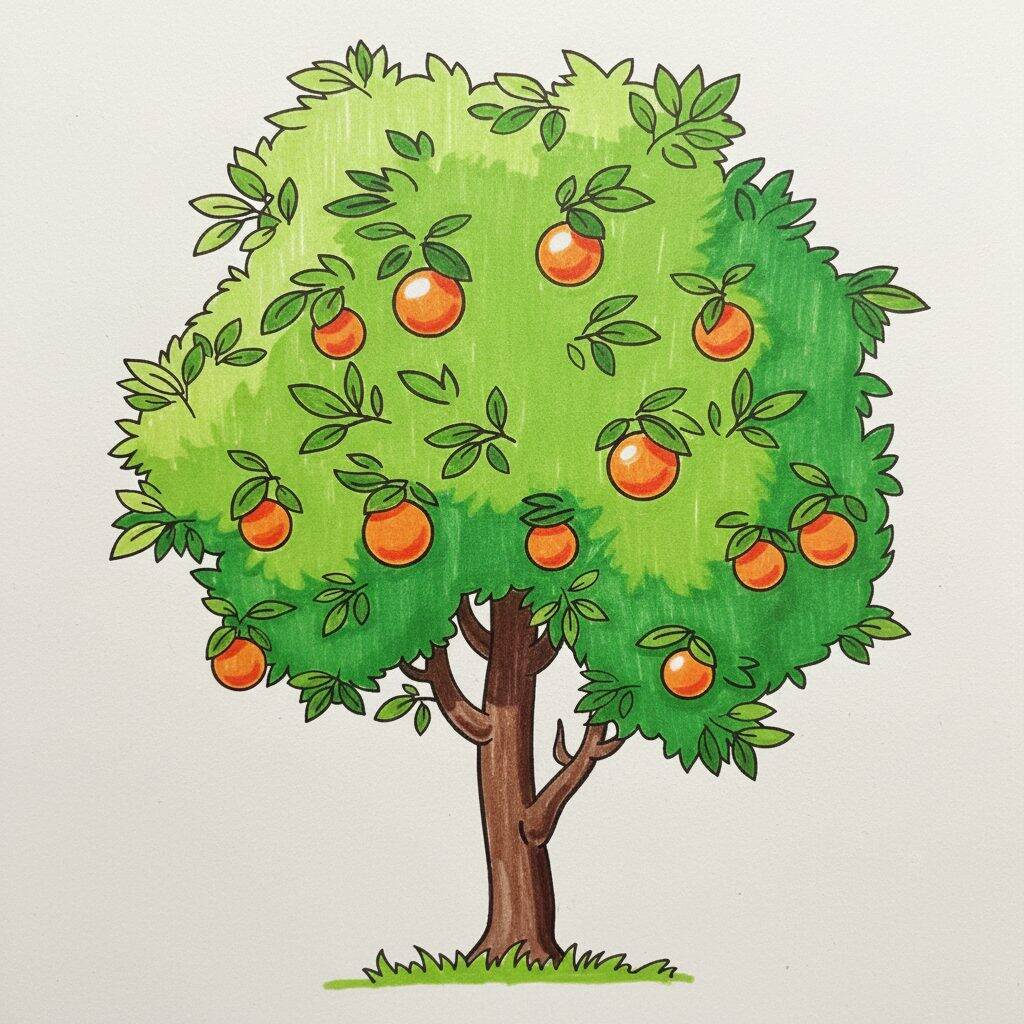
Step 9 of 10
Now, let's finish your tree! Start by coloring the leaves a vibrant green, using different shades to add dimension. For the fruits, choose a shade of orange or yellow and fill in each one, leaving some areas lighter to simulate reflections. Don't forget to add a little brown to the trunk to give it depth. Finally, review the contours to make everything well defined. Your tree is almost ready!
Step 10 of 10
Congratulations! You've reached the end of your tree drawing! Now admire your work and make any final adjustments if necessary. If you want, you can add a simple background, like a blue sky or some clouds, to bring more life to your illustration. Don't forget to sign your drawing so everyone knows this masterpiece is yours!