


📐 How to Draw — Step by Step
Step 1 of 10
To start drawing a rose, start by sketching the central part of the flower. Draw an oval shape with some gentle curves, which will represent the rose buds. Remember to add small loops and inner lines to give the impression of layers. This will help create the sense of depth and texture that characterizes the rose.
Step 2 of 10
Now, let's add the petals to your rose. Start by drawing petals around the center you created. Use smooth, rounded shapes, connecting them to the central button. Remember to vary the size and curvature of the petals to give a more natural look. Don't worry about being perfect; the important thing is to capture the essence of the rose.
Step 3 of 10
Now, let's add more details to your rose. Start drawing additional layers of petals around the ones you've already made, making sure they overlap a little. Give each petal a slightly different shape to create a more dynamic look. Remember that the outermost petals are usually larger and more open, while the inner ones are smaller and more closed. This will help give your rose depth.
Step 4 of 10
Now, let's work on the general shape of the rose. Connect the petals you drew earlier, softening the edges and creating a more fluid shape. Add a line that represents the stem of the rose, ensuring it is at a slight angle to give a sense of movement. Don't worry about details for now; the focus is on creating a harmonious silhouette.
Step 5 of 10
Now, let's add more details to your rose. Start by drawing the petal layers that are closest to the center. Use soft, curved lines to create a three-dimensional effect by layering some petals on top of each other. Remember to leave the edges slightly wavy to give a more natural touch. Don't worry about being perfect; The beauty of the rose is in its organicity!
Step 6 of 10
Now that you've added the petal layers closest to the center, let's work on the outer petals. Draw wider, more open shapes, keeping the curves smooth. Overlap some petals to create a depth effect and add details like small folds at the edges. This will give your rose more realism. Remember to keep the lines fluid for a more natural touch!
Step 7 of 10
Now that you've drawn the outer petals, it's time to add details and texture to your rose. Start by drawing soft lines on the petals to represent the veins and folds, giving them more dimension. Then work around the edges of the petals, creating a light shading to enhance the depth. Don't forget to add a touch to the stem and leaves, giving continuity to your design. This will help unify all the elements of the flower!
Step 8 of 10
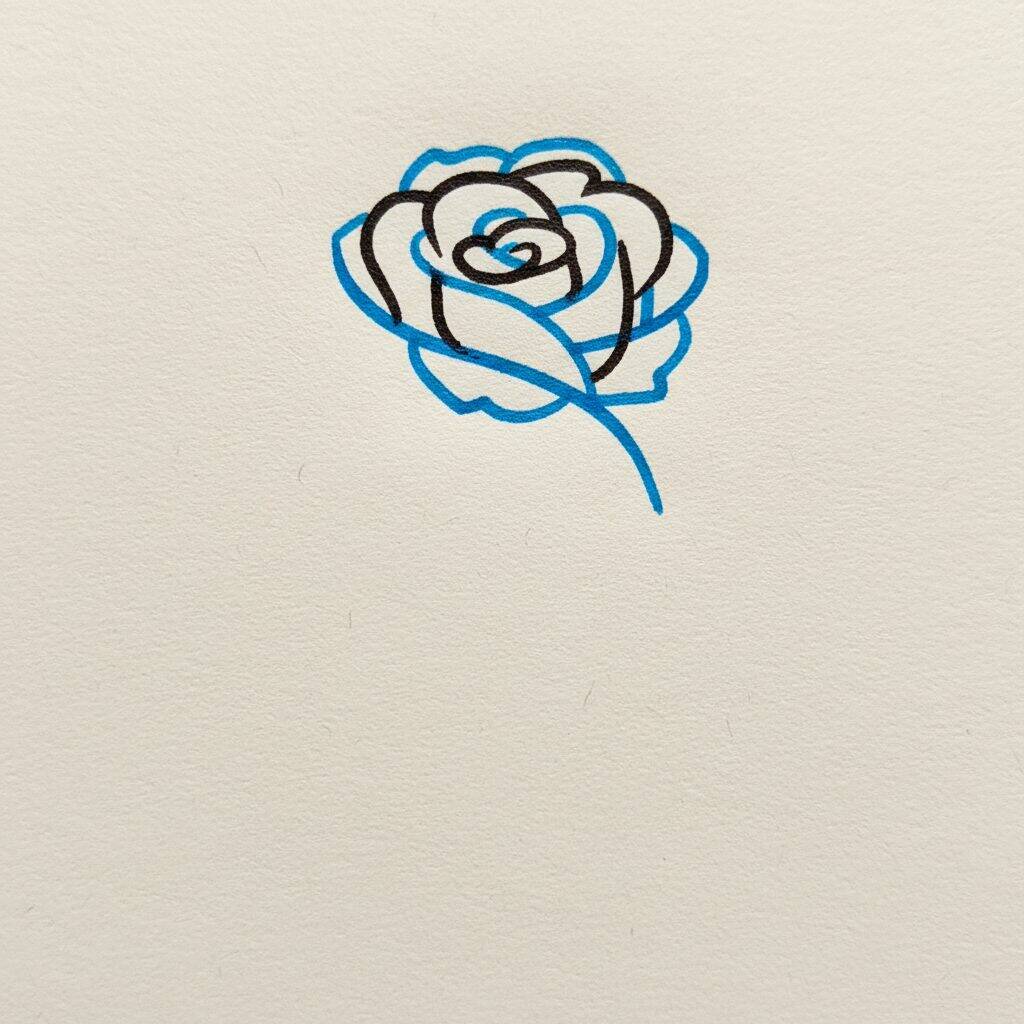
For this step, we're going to further refine your rose. Start drawing the core of the flower, adding details such as spirals and lines that represent the inner petals. This will give a feeling of depth and realism. Then, draw some leaves around the rose, using simple shapes and curved lines. Remember to keep the lines soft so the flower looks delicate and natural.
Step 9 of 10
For this step, we are going to add color to your rose. Use a vibrant shade of blue to fill the petals, starting in the center and moving towards the edges. Remember to leave some areas blank to create brightness and dimension. Then, paint the leaves a soft green, ensuring the shadows appear in the deepest parts. This will help bring your rose to life!
Step 10 of 10
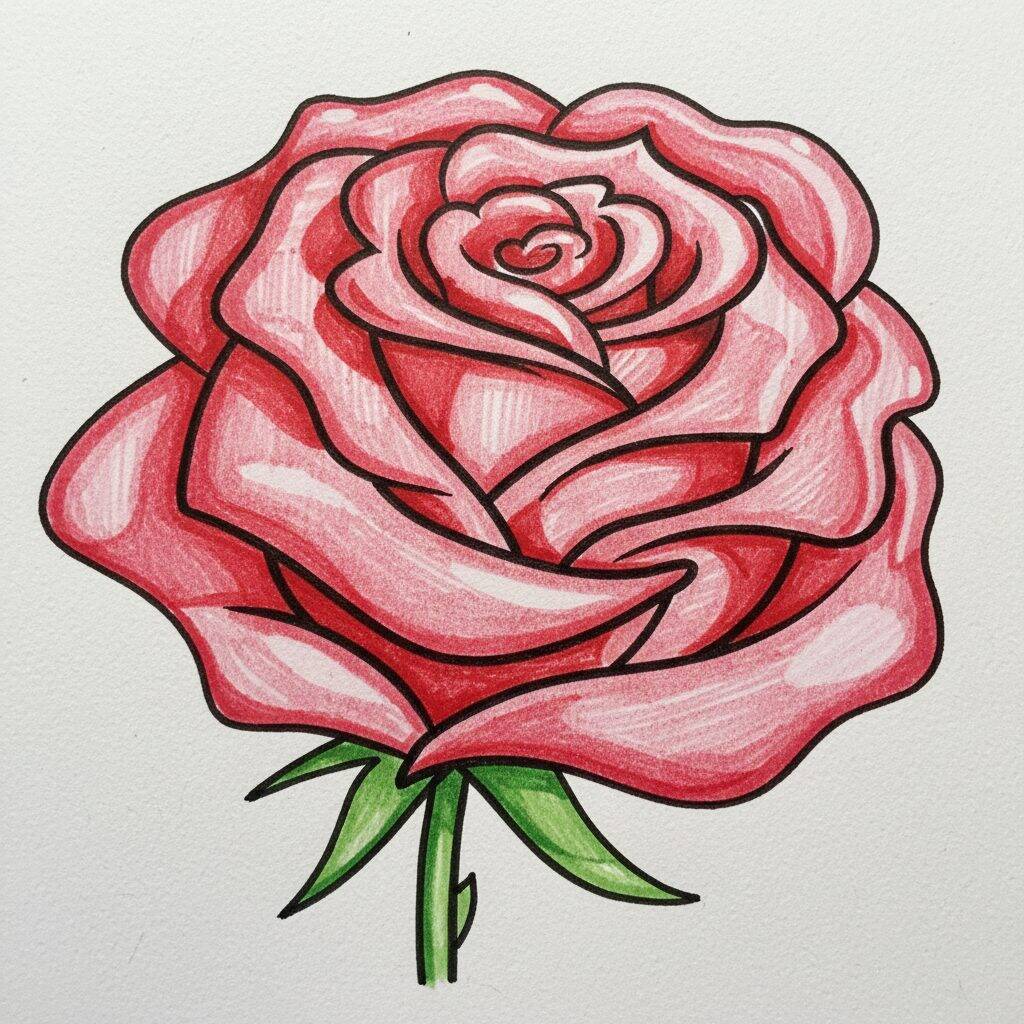
To finish off your rose, now it's time to add the finishing touches. Use a black pencil or fine pen to lightly outline the petals, highlighting the contours and giving a more defined effect. This will enhance the beauty of your rose. Lastly, go over the leaves and add a little more shadow to give them depth. Ready! Your rose is complete and full of life!