

📐 How to Draw — Step by Step
Step 1 of 5
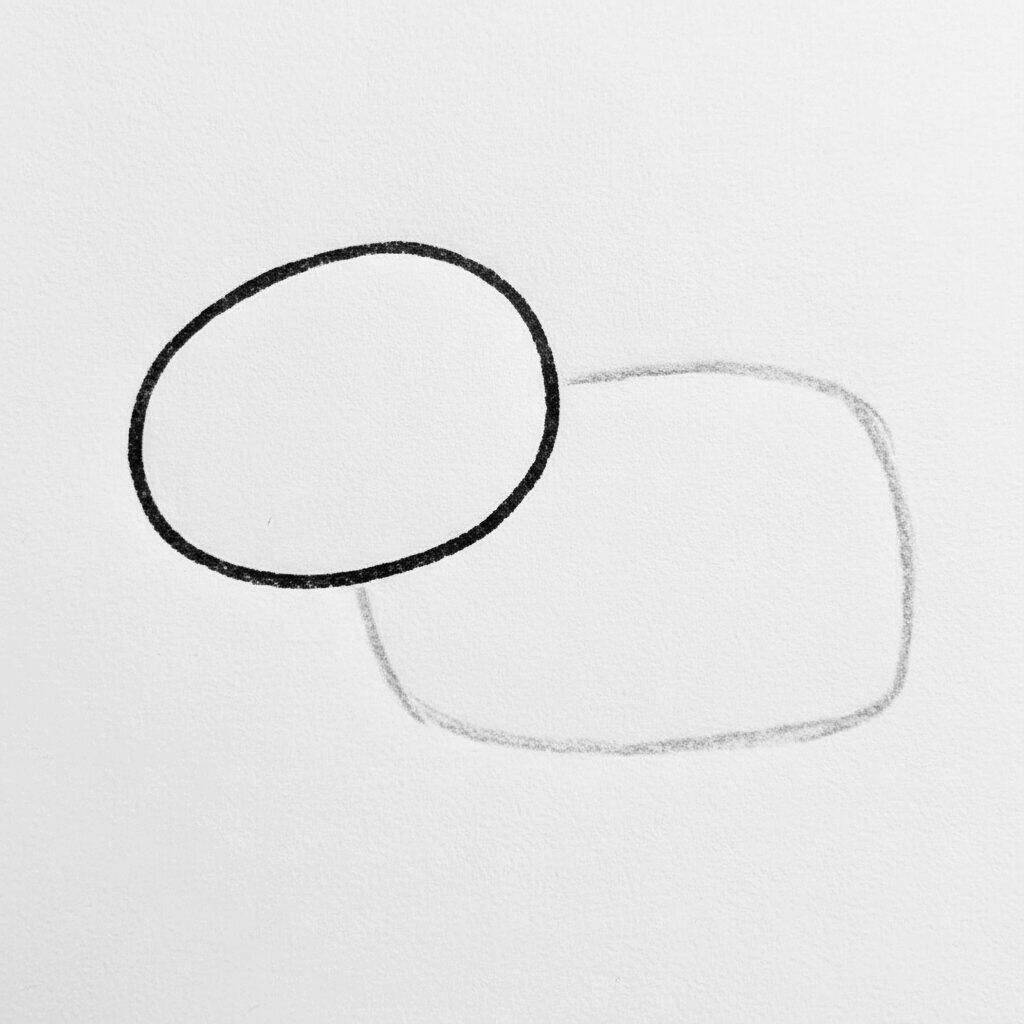
To start drawing a realistic capybara, start by creating the basic shapes that will serve as a guide. Draw a large oval, which will represent the capybara's body. Then add a smaller oval above it, which will be the head. Make sure the shapes are slightly overlapping as this will help with the proportion of the drawing. These shapes will serve as the basis for the details that follow.
Step 2 of 5
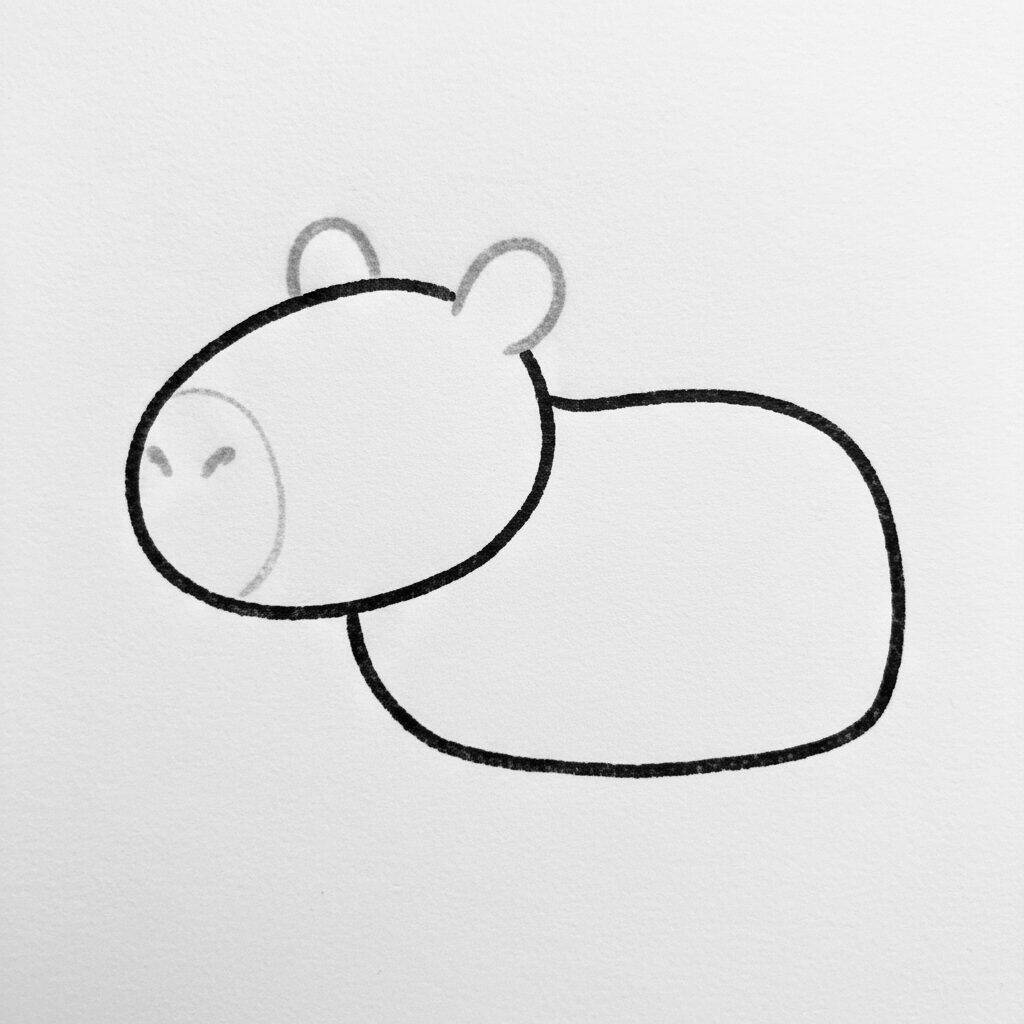
Now that you have the base of the capybara, let's add more details to the face. Start by drawing the rounded ears on the top of the head, using small shapes. Next, sketch the eyes, making two small ovals that are slightly angled to give a friendly expression. For the snout, draw a larger oval at the front of the head, and add a curved line for the mouth. This will bring more life to your drawing!
Step 3 of 5
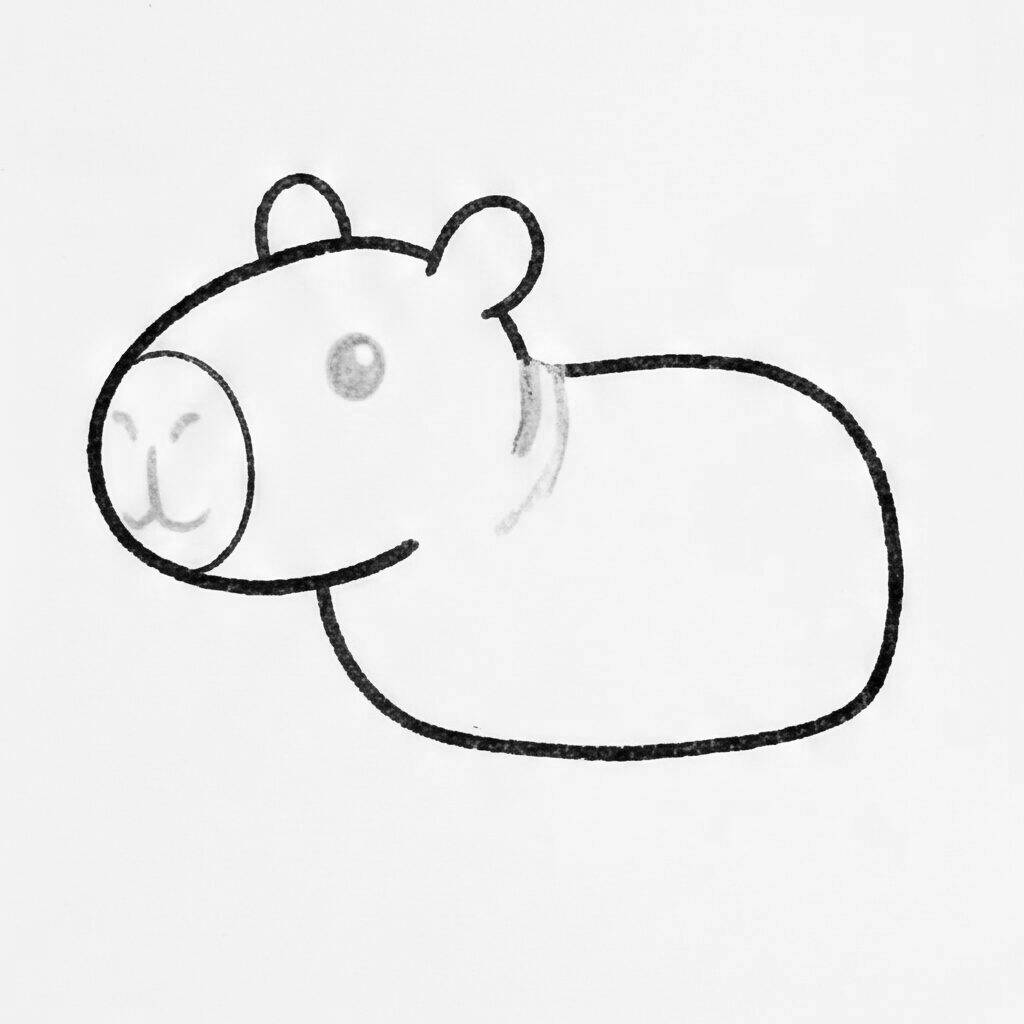
Now that the capybara's face is almost complete, let's work on the body. Draw an oval shape that extends from the head, creating the animal's belly and back. Make sure the bottom is a little wider to give it a more realistic look. Then add the paws by drawing four small rectangular shapes on the bottom of the body. These details will begin to shape your drawing.
Step 4 of 5
Now that the capybara's body is drawn, let's add more details. Start refining the head by accentuating the eyes with a dark circle and adding a little sparkle inside to bring the look to life. Then, draw the ears, which should be small and rounded at the top of the head. To finish, add some soft lines along the body to represent the fur and give texture to the drawing.
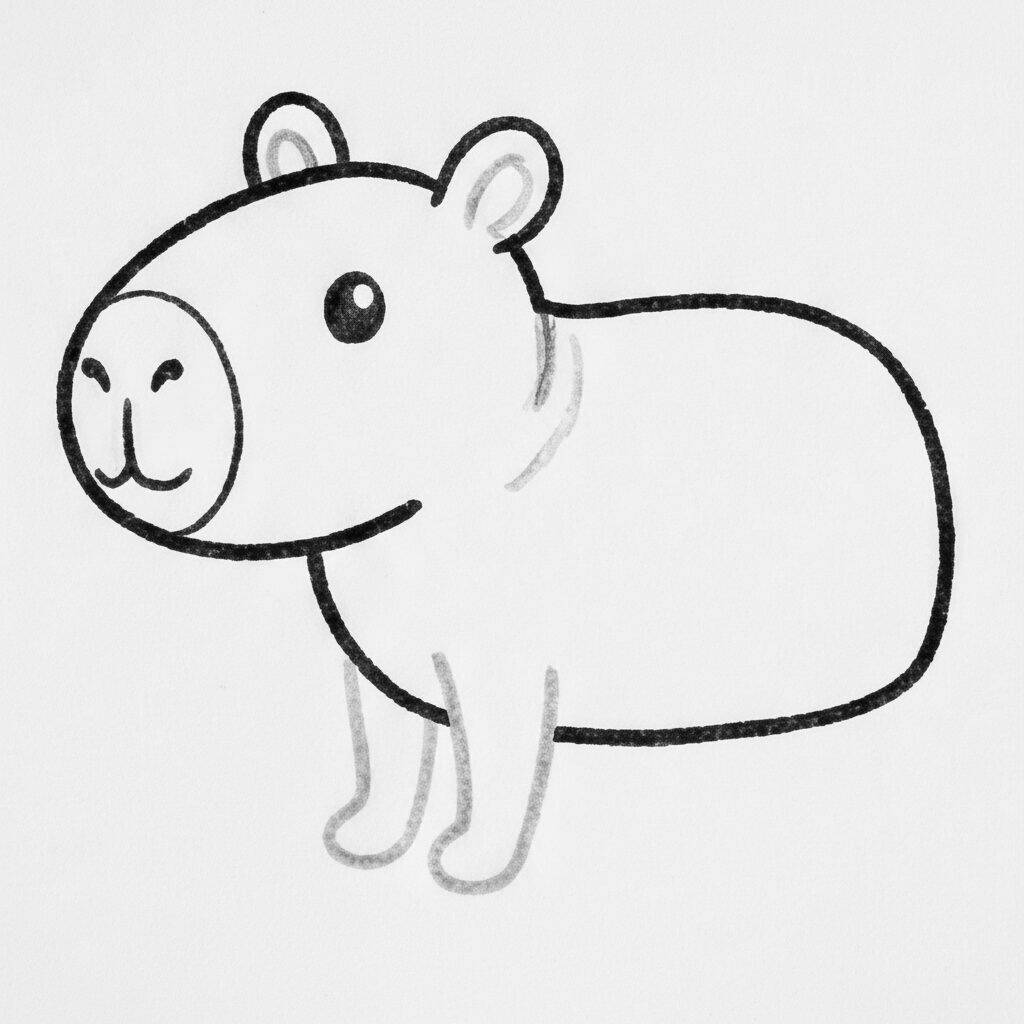
Step 5 of 5
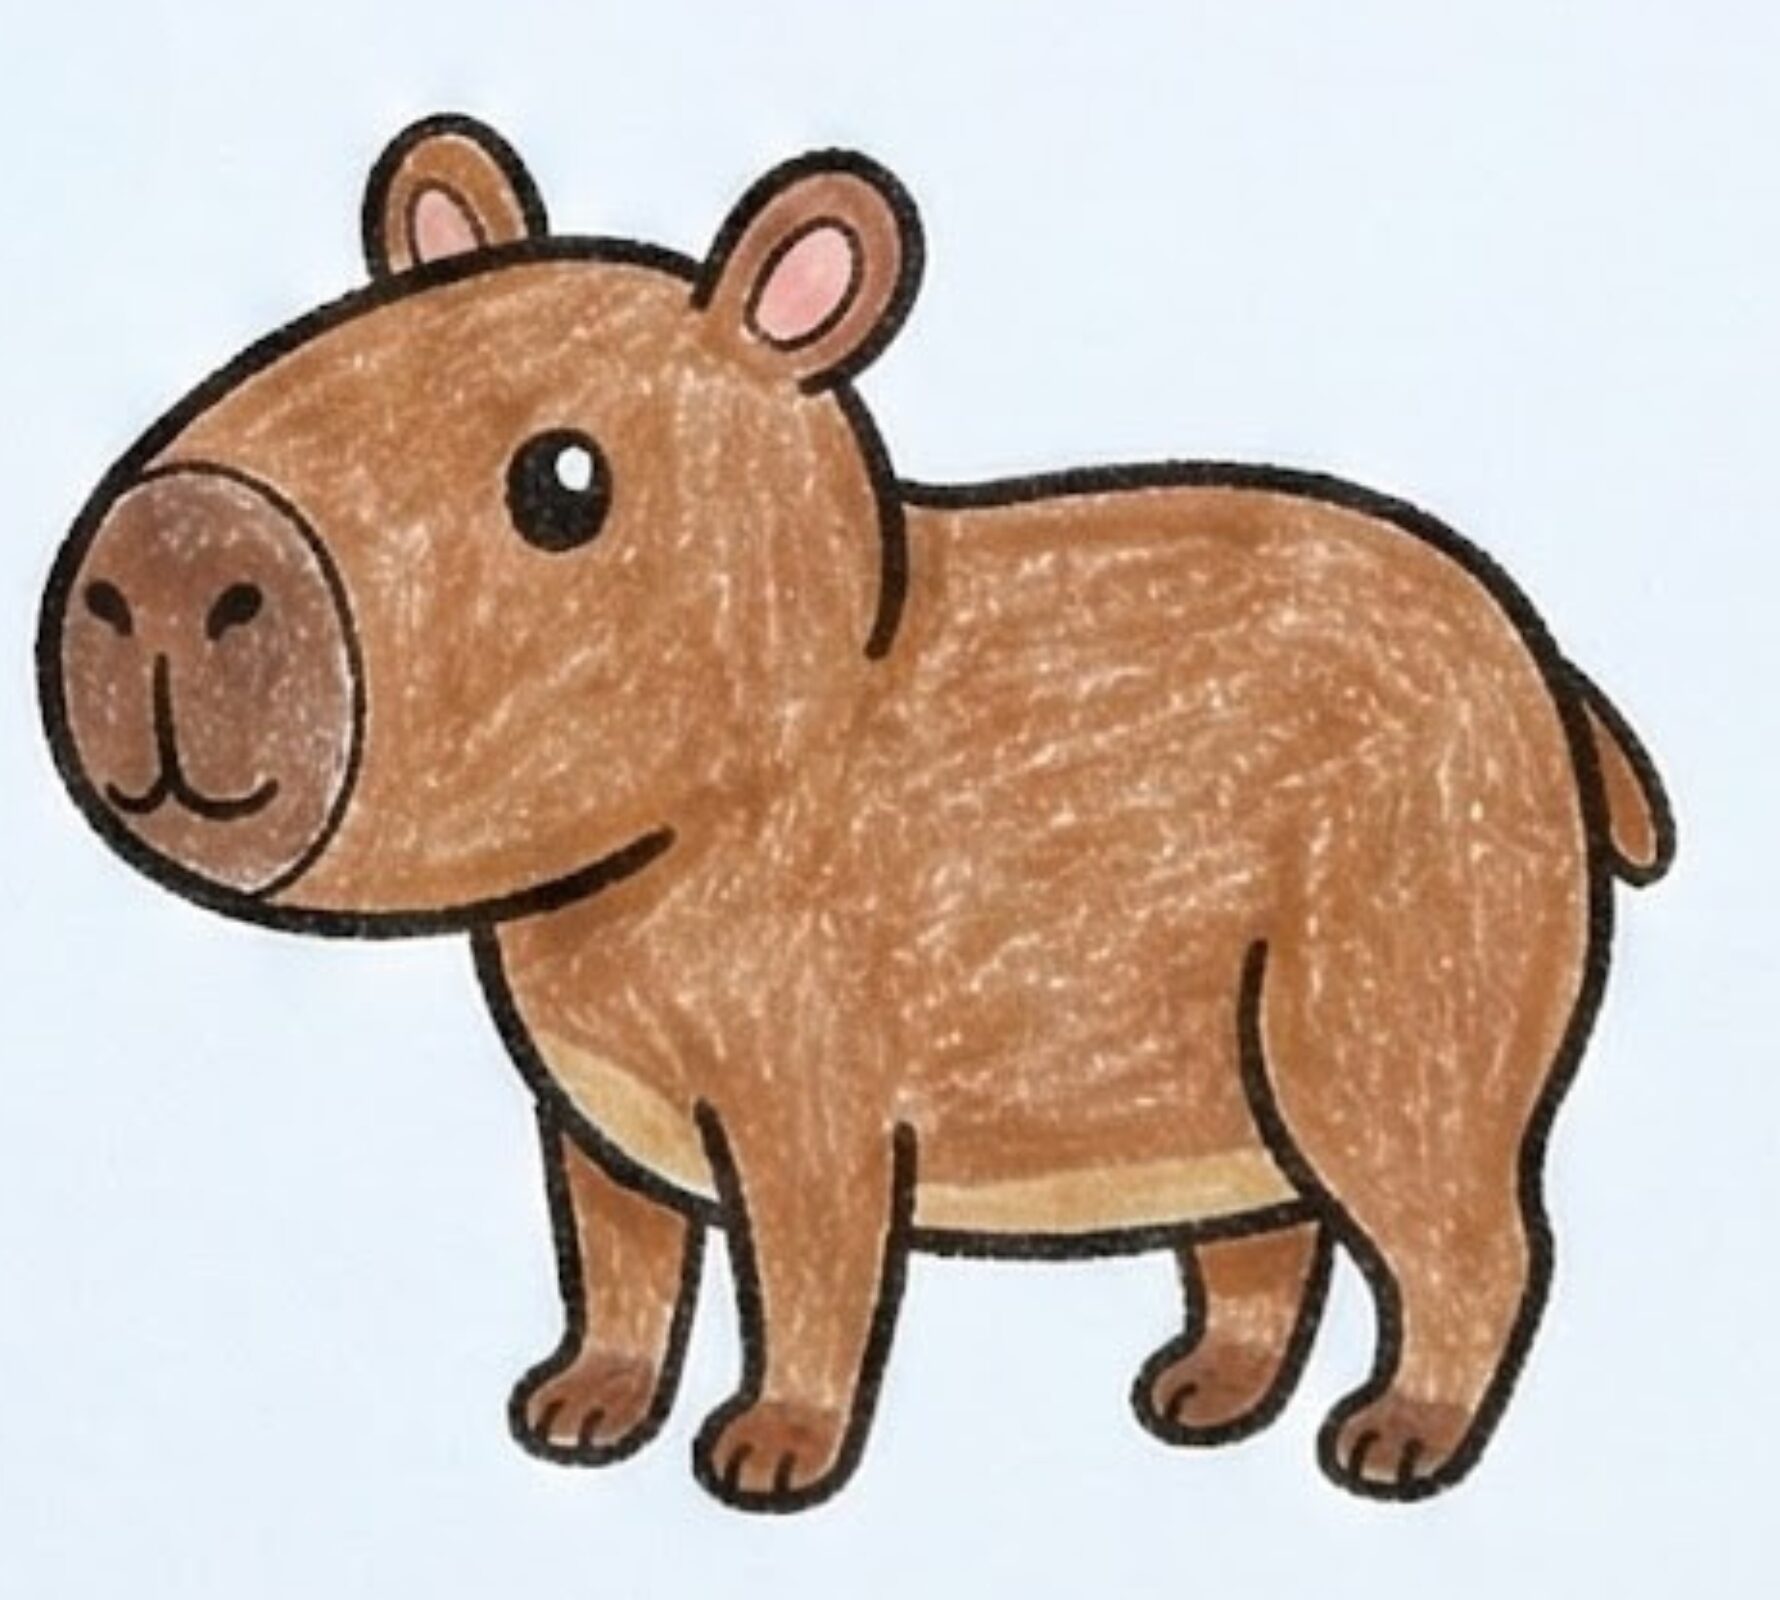
To finish your capybara drawing, start by adding the final details on the legs. Draw the front and back legs, giving them a more robust, rounded shape. Add small strokes to represent the nails. Then refine the tail, which should be short and rounded. Finally, review the contour of the body, softening the lines where necessary to give your work a more natural finish. Congratulations, your capybara is ready!