


📐 How to Draw — Step by Step
Step 1 of 8
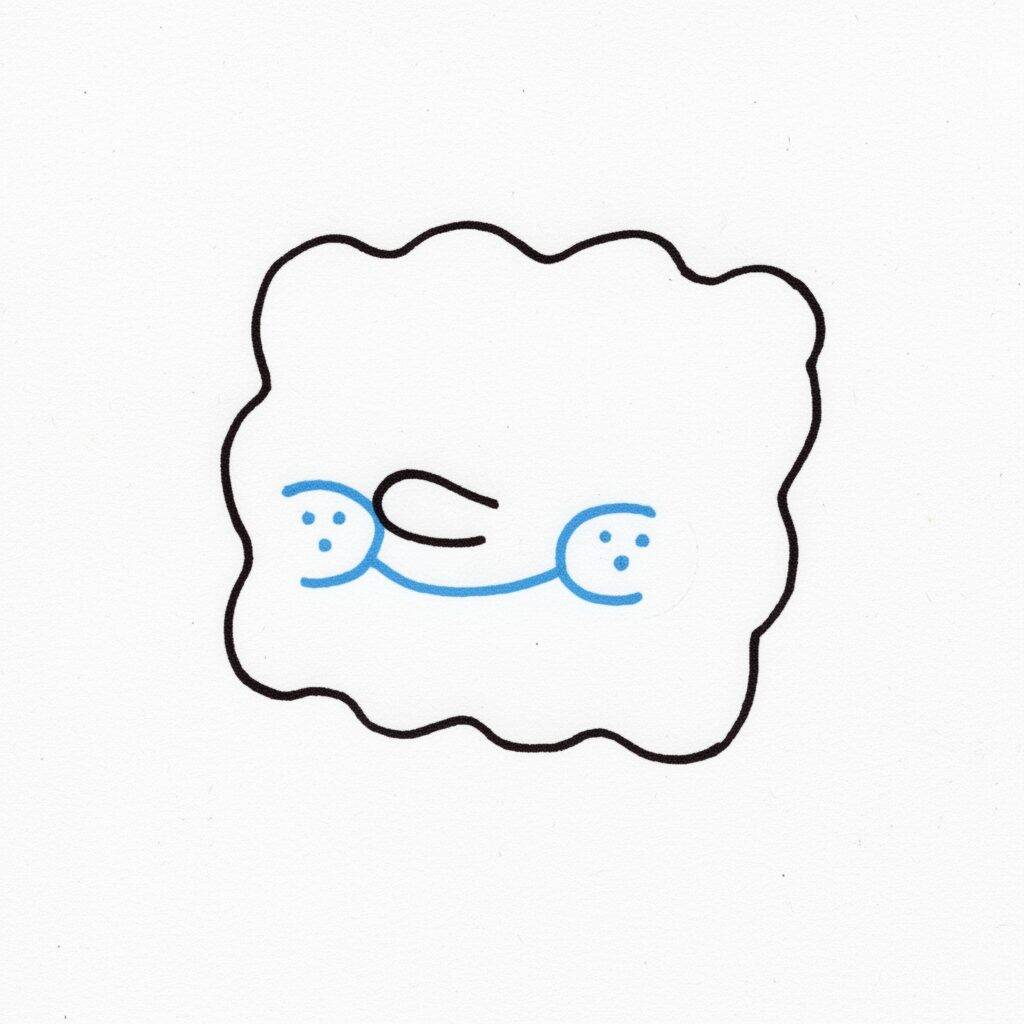
Now, let's add the details to SpongeBob's face! Start by drawing two small circles for the eyes, placing them on the top of the body. Then draw a small oval-shaped nose between the eyes. For a fun touch, add a wide smile just below your nose, with small cheeks on each side. Remember to keep the shapes simple and fun!
Step 2 of 8
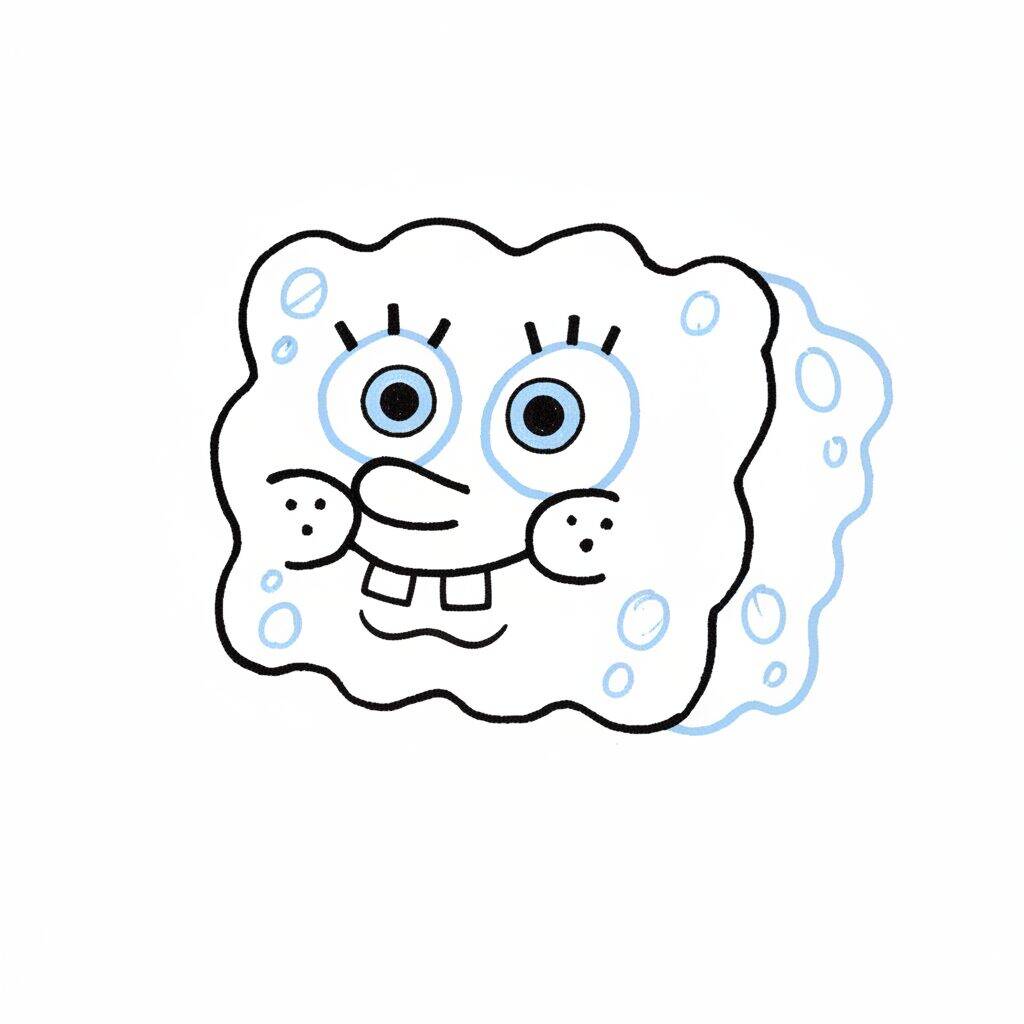
Now, let's add more details to SpongeBob's face! Start by drawing the eyebrows above his eyes, making curved lines that express his fun personality. Then add the teeth, drawing a small rectangle between the smile. To finish, draw some dots around the face to represent SpongeBob's features, giving a special touch to his appearance.
Step 3 of 8
Now, let's work on SpongeBob's body! Start by drawing a more rounded outline around the face we already drew. Make sure the edges are jagged to give it the spongy look. Then add some bubbles around the body, using varying circular shapes to create a fun effect. These bubbles will help bring your drawing to life!
Step 4 of 8
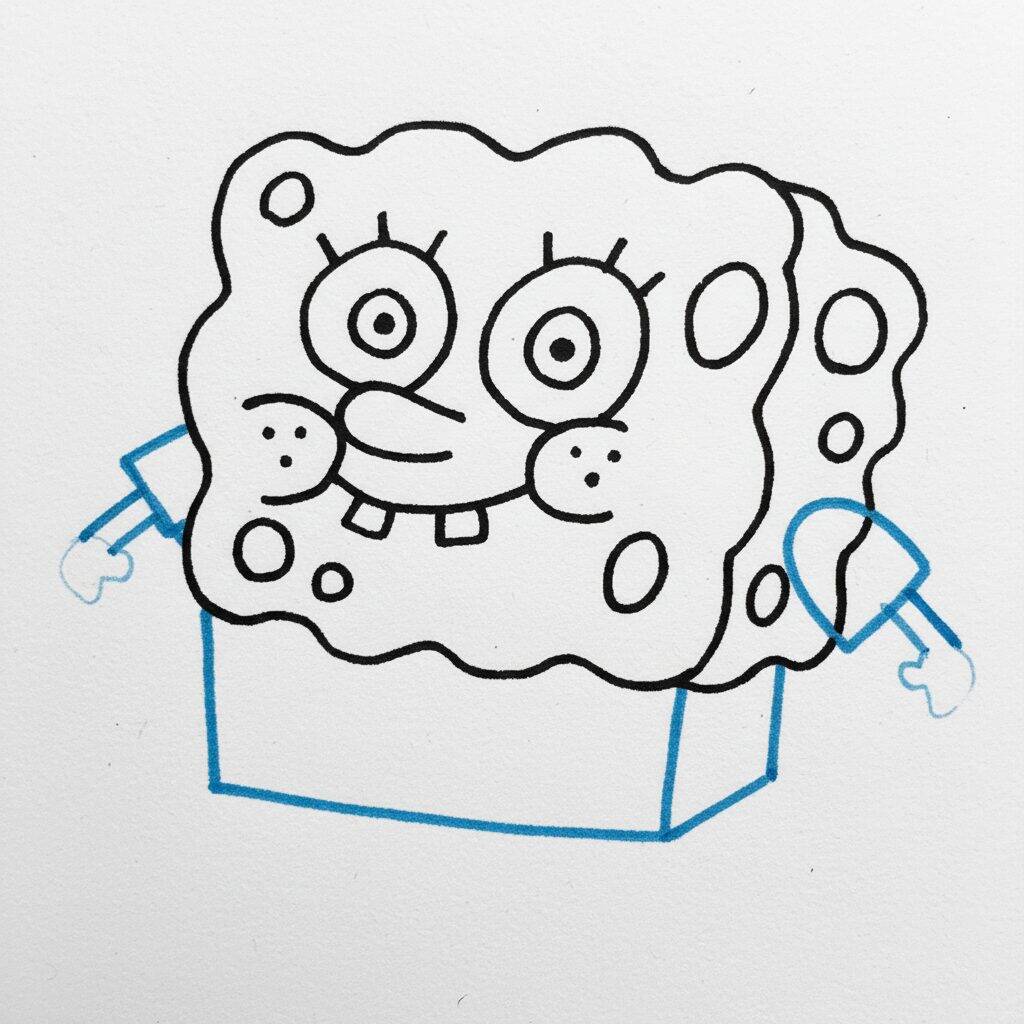
Now, let's add SpongeBob's arms and hands! Start by drawing two curved lines coming out of the sides of the body. They should be a little thick to give volume. Then draw the hands using simple shapes like circles or ovals to represent the fingers. Don't forget to add the details, like the gloves, by making soft lines around the hands. This will help give your drawing more personality!
Step 5 of 8
For the next step, let's focus on adding SpongeBob's eyes and smile! Start by drawing two large circles for the eyes, with a small circle inside each to represent the pupils. Then draw the eyebrows above the eyes using arched lines. For the smile, draw a wide curved line, and add a few short lines at each end to show the cheeks. This will add a cheerful touch to your drawing!
Step 6 of 8
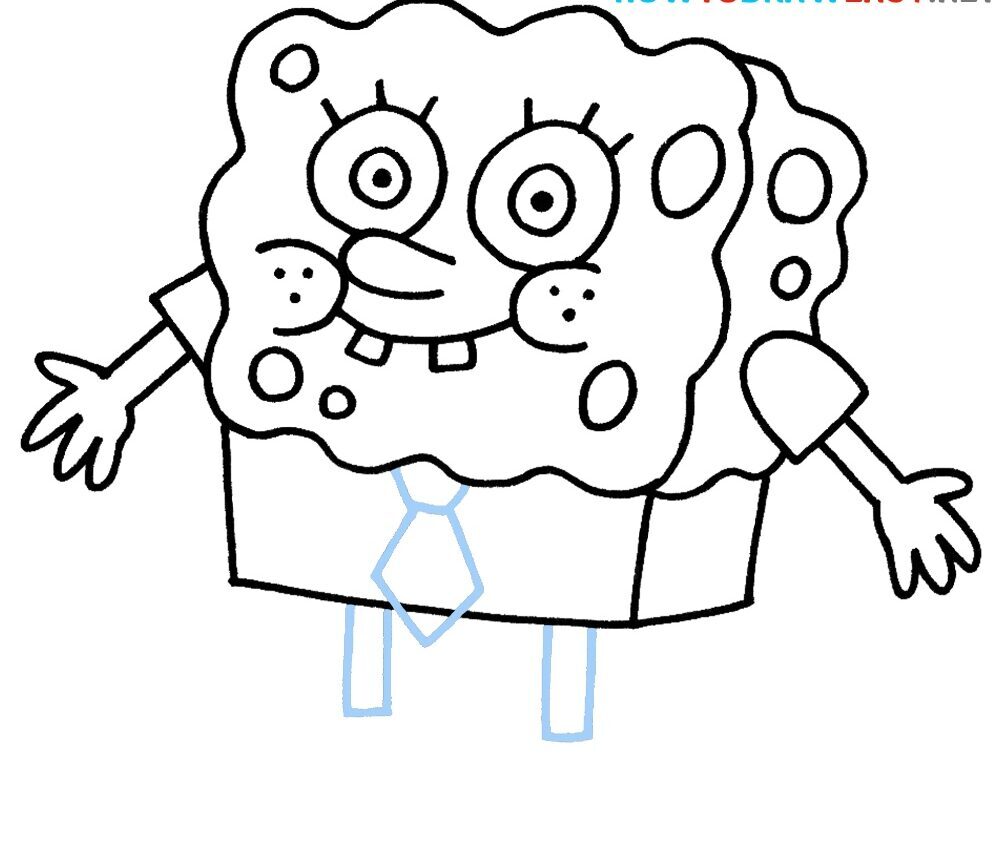
Now that we have SpongeBob's eyes and smile, let's add the details of his hands and tie! Start by drawing the arms, which are simple straight lines with rounded shapes at the ends to represent the hands. For the tie, draw an inverted triangle just below the shirt collar, and add a vertical line down the center. This will give your character more life!
Step 7 of 8
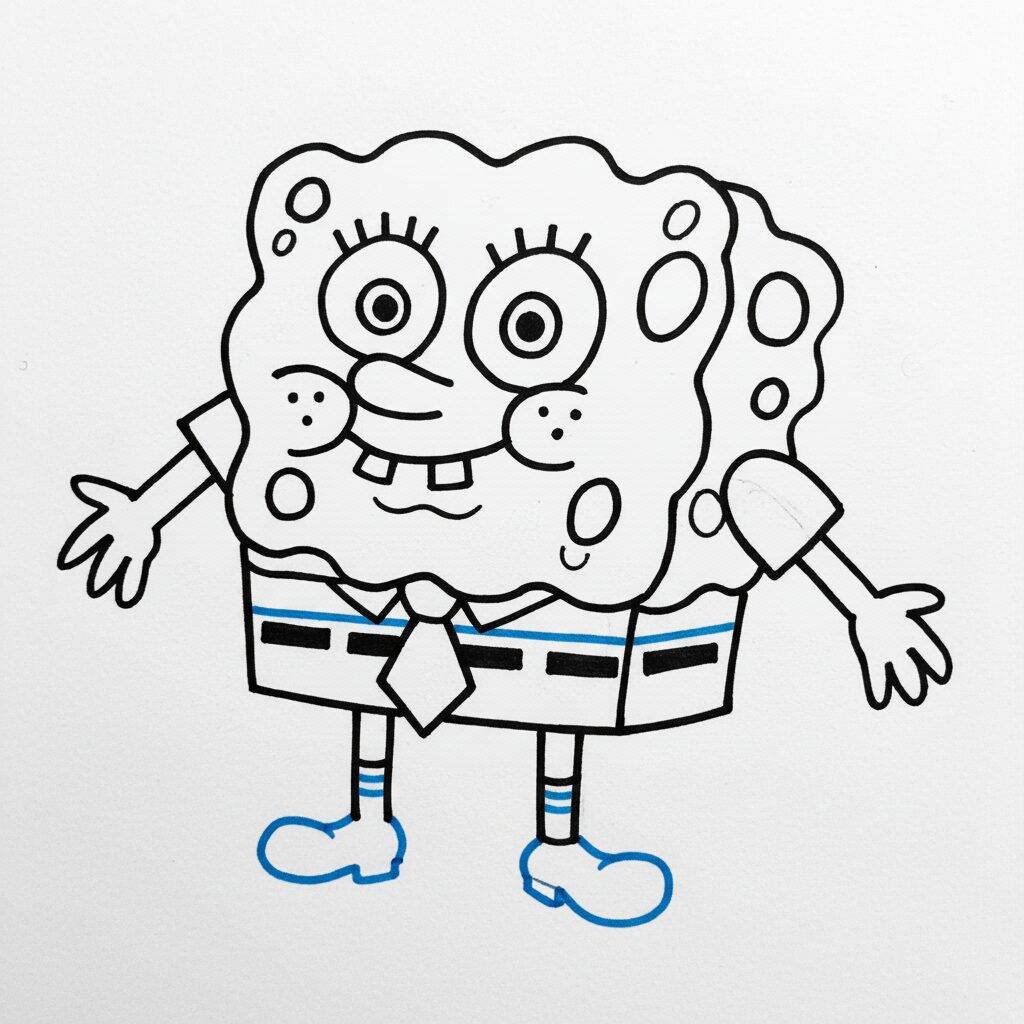
Now that you've drawn SpongeBob's hands and tie, let's add more details! Start by drawing the socks, which are horizontal lines on the bottom of the legs. Then add the shoes, which can be drawn as ovals at the base of the legs. To finish, draw some bubbles around SpongeBob for a fun touch!
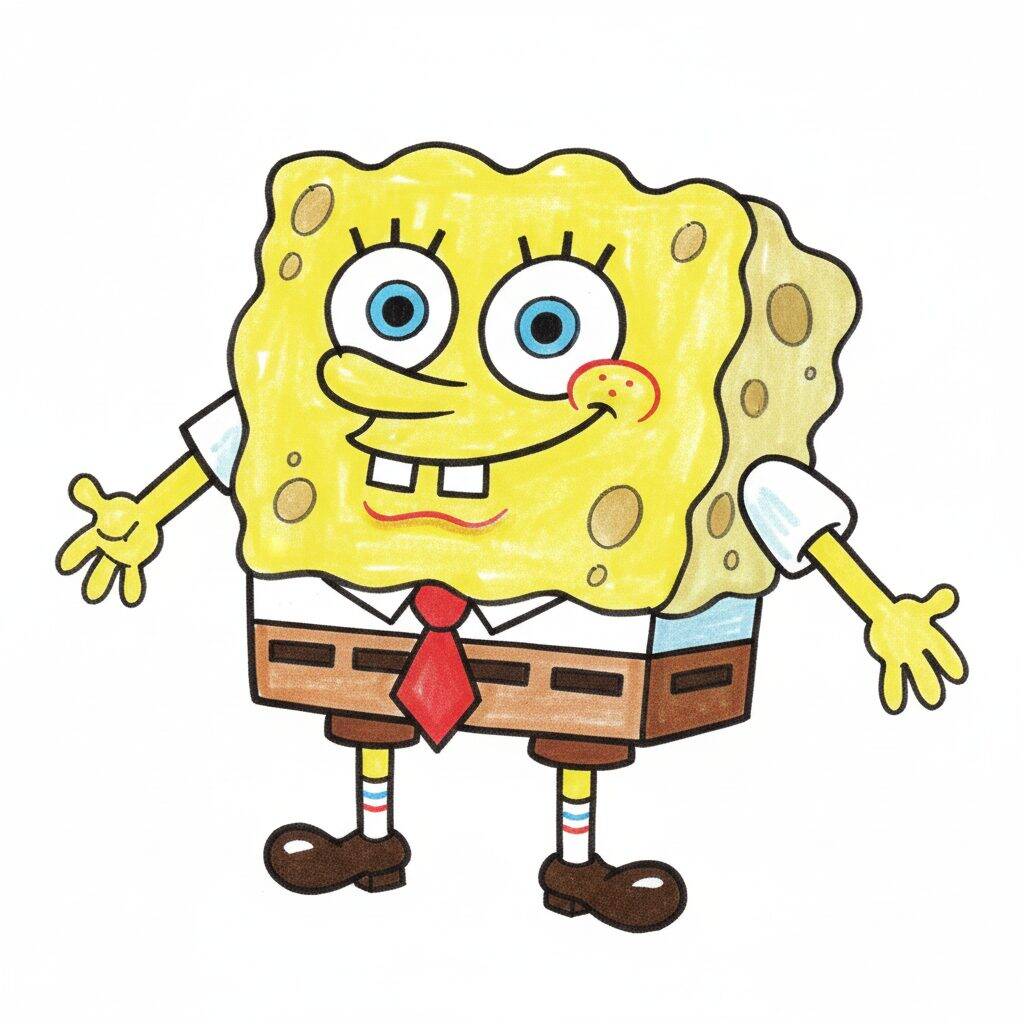
Step 8 of 8
Congratulations! You've reached the end of your SpongeBob drawing! Now review the outlines and details you made. If you want, use colored pens or pencils to bring your character to life, filling in the colors in a happy and vibrant way. Don't forget to add a finishing touch like bubbles or a fun background. Enjoy your new deep-sea friend!