
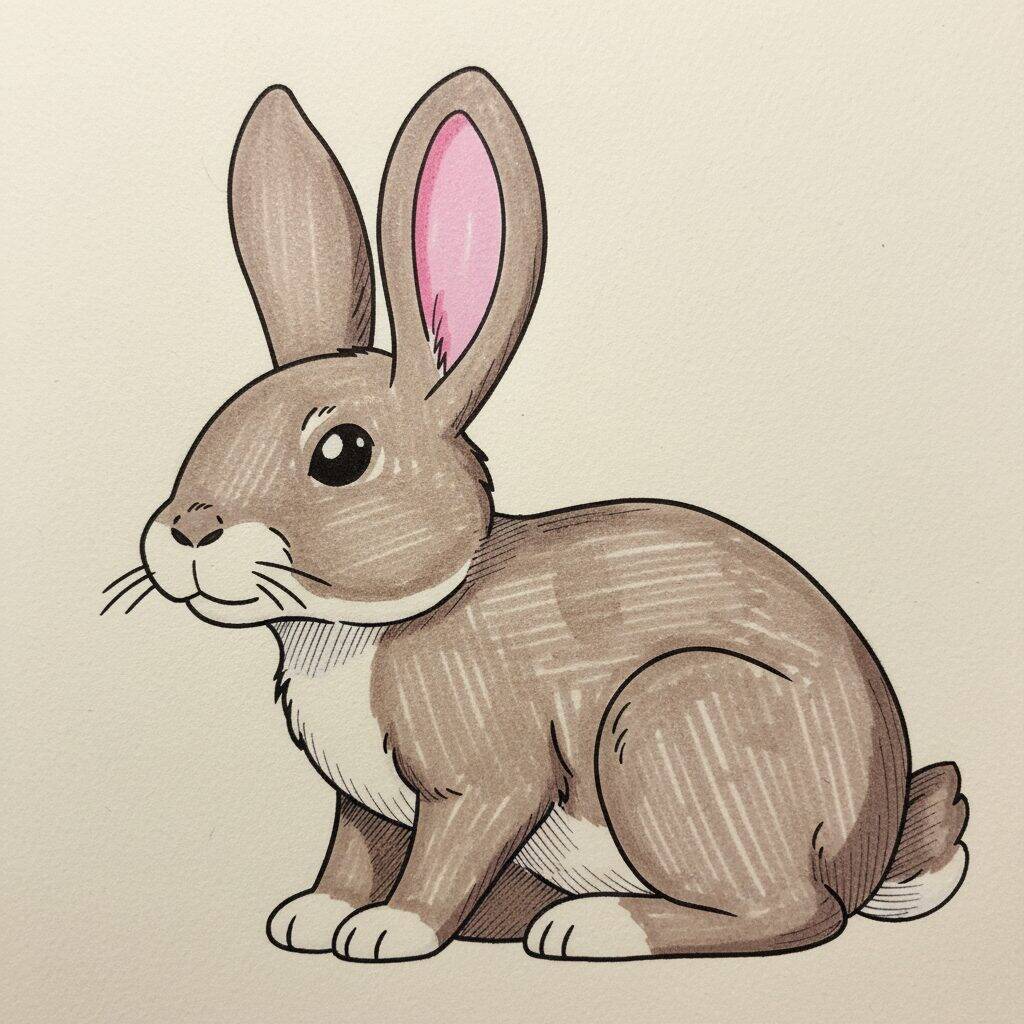

📐 How to Draw — Step by Step
Step 1 of 10
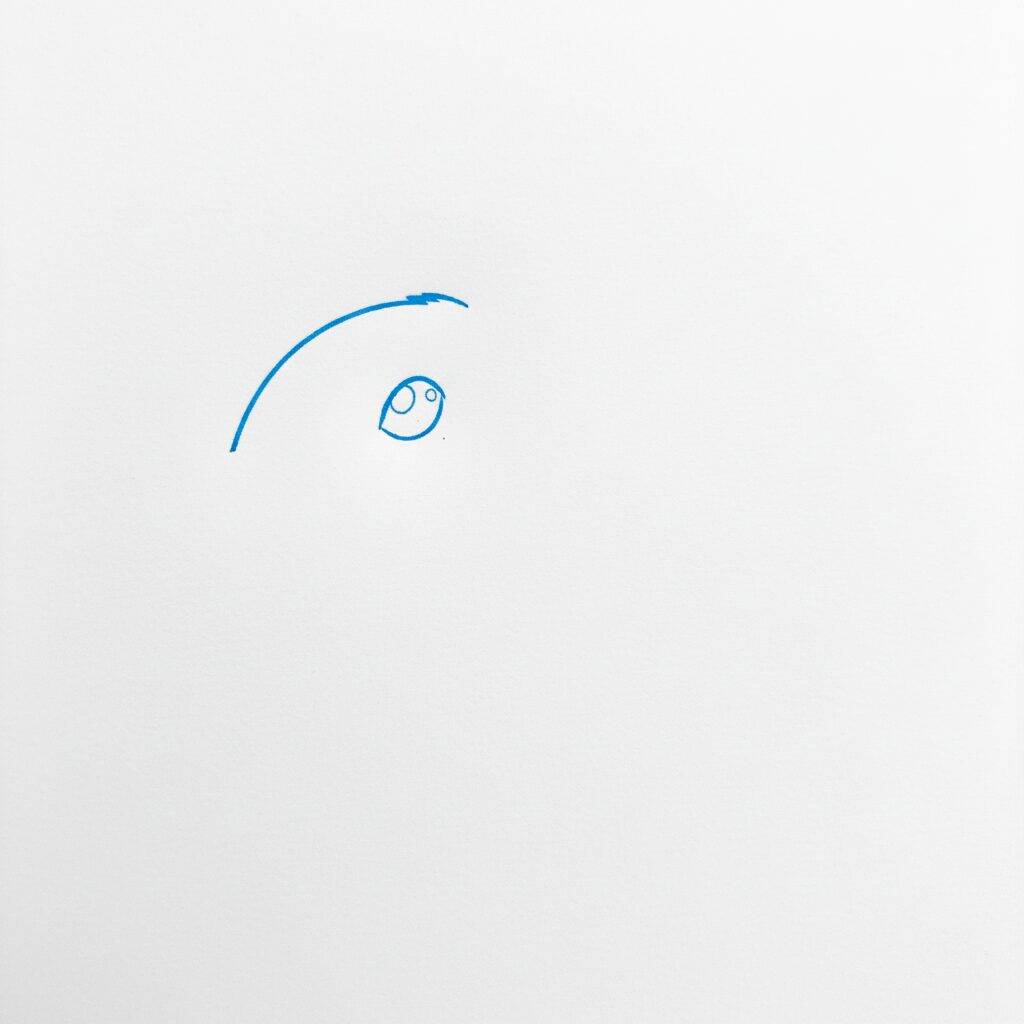
Start by drawing the rabbit's head. To do this, make a slightly elongated oval shape at the top. Then add a curved line at the top that will represent the top of the head. For the eye, draw a small oval with a dot inside, which will be the pupil. This will bring your bunny to life from the start!
Step 2 of 10
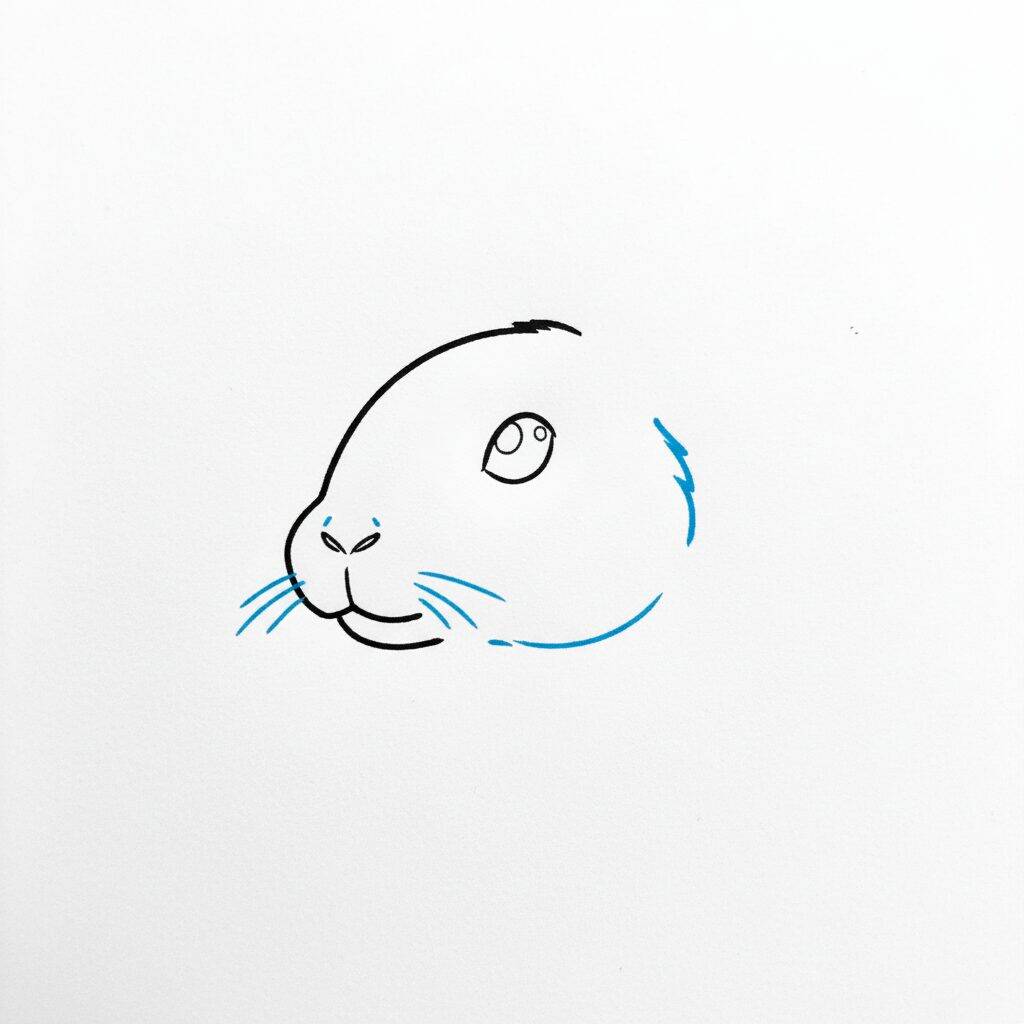
Now, let's add the details to the rabbit's face. Start by drawing the nose, which can be a small triangular or oval shape at the bottom of the head. Then outline the mouth with a soft line that curves downward, forming a slight smile. Don't forget to add a small line to represent the chin. These details will help give your rabbit more personality!
Step 3 of 10
Now let's work on the rabbit's eyes. Start by drawing an oval for the eye, placing it slightly above the nose. Inside the eye, add a circle-shaped pupil. To bring the look to life, draw a small glow in the pupil, represented by a white dot. Then draw some thin lines for the whiskers, coming out on each side of the nose. These details will make your bunny's face more expressive!
Step 4 of 10
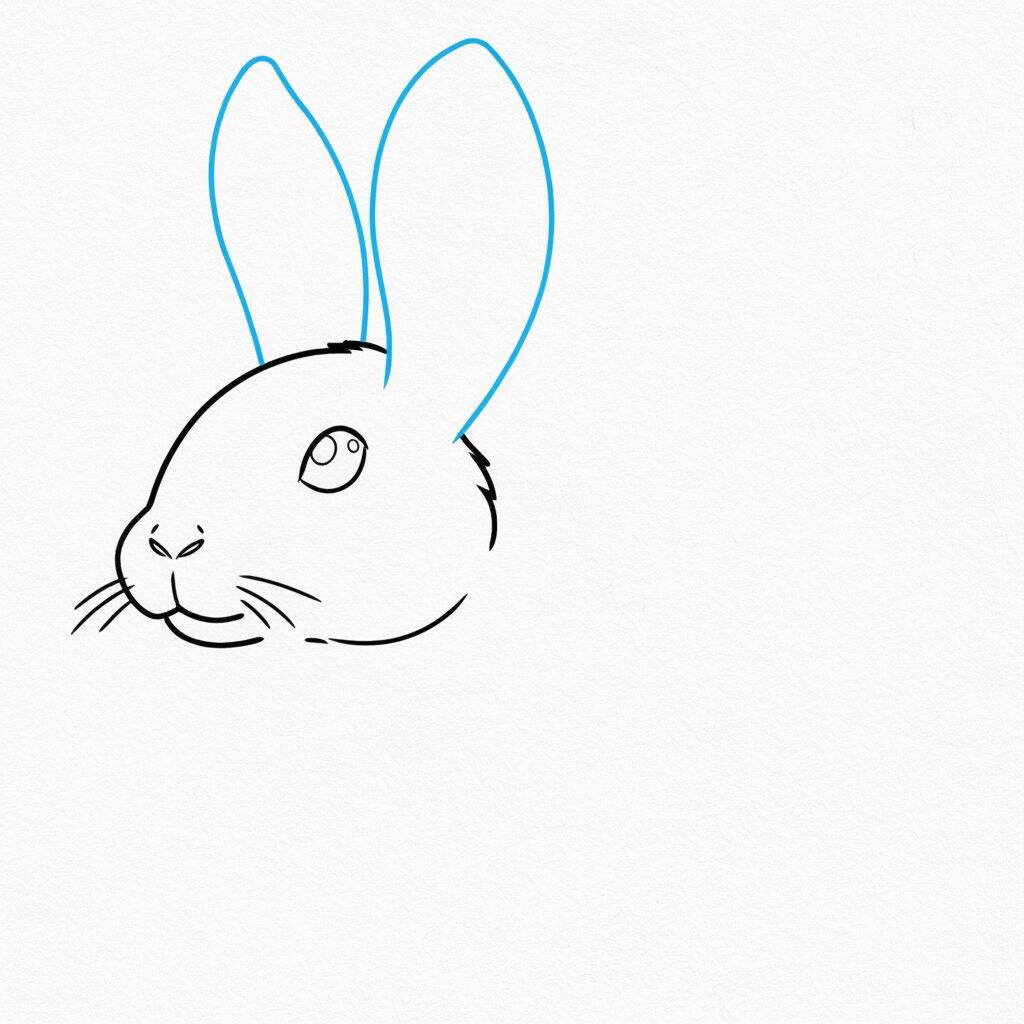
Now, let's add the bunny ears. Start by drawing two elongated ovals on the top of the head, one on each side, to represent the ears. Make sure one ear is tilted a little to one side for a natural feel. Then, refine the edges of the ears, adding a soft outline. This will make your rabbit more characteristic and adorable!
Step 5 of 10
Now that the ears are drawn, let's focus on the rabbit's face. Start by drawing a smaller circle for the head, connecting it to the body with a smooth line at the bottom. Then add a small circle for the eye and draw a triangular nose just below it. For the face details, sketch some thin lines to represent the hair and cheeks. This will give your rabbit more life!
Step 6 of 10
Now that the head and facial features are ready, let's work on the details of the rabbit's face. Start by adding more details to the eye, drawing a pupil and a glow to bring it to life. Then, refine the triangular nose, making it a little more rounded. Then add soft lines to indicate the hair around the face and mouth line, creating a friendly expression. This will help give your bunny more personality!
Step 7 of 10
Now that you've added the face details, let's focus on the bunny's ears. Start by drawing the shape of the ears, which should be long and slightly rounded at the tip. Keep in mind that one ear may be angled a little more than the other for a natural feel. Then add some inner lines to indicate the texture and inside of the ears. This will help give your drawing more realism!
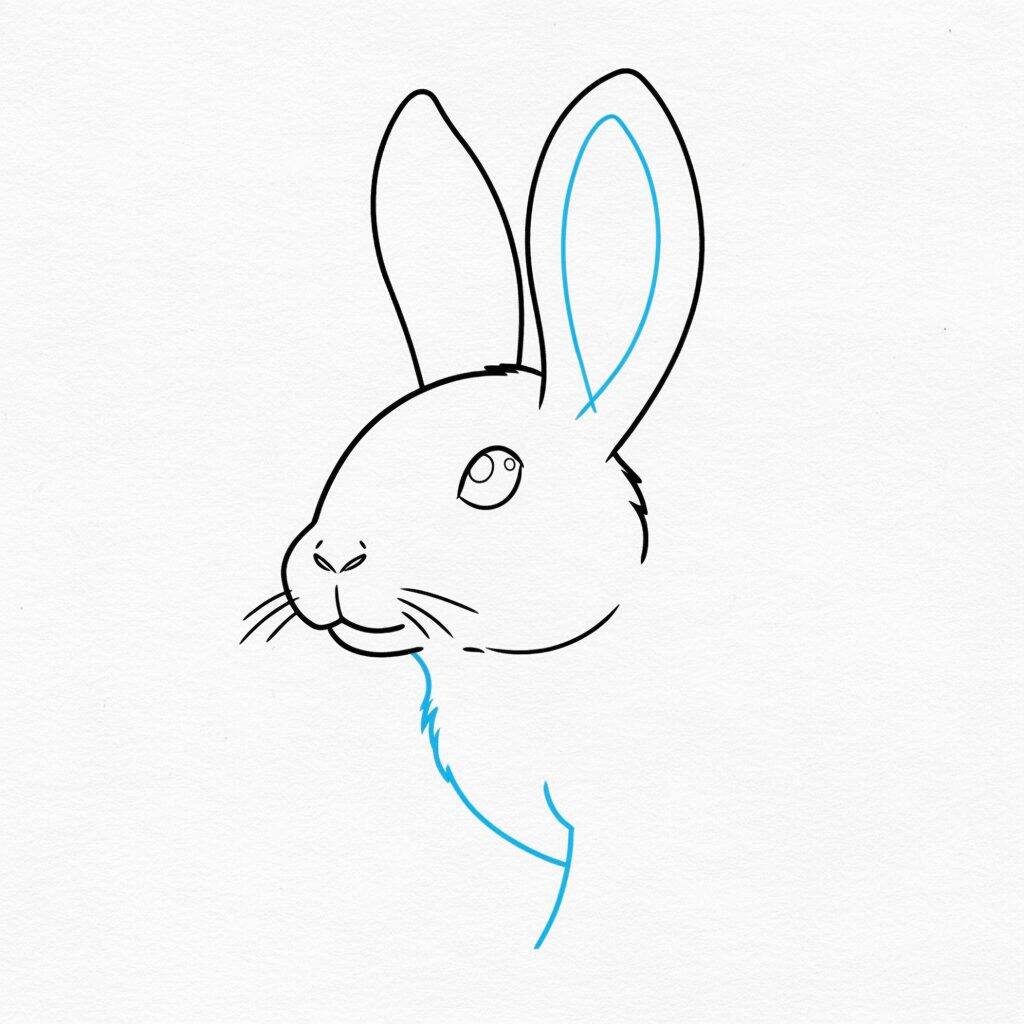
Step 8 of 10
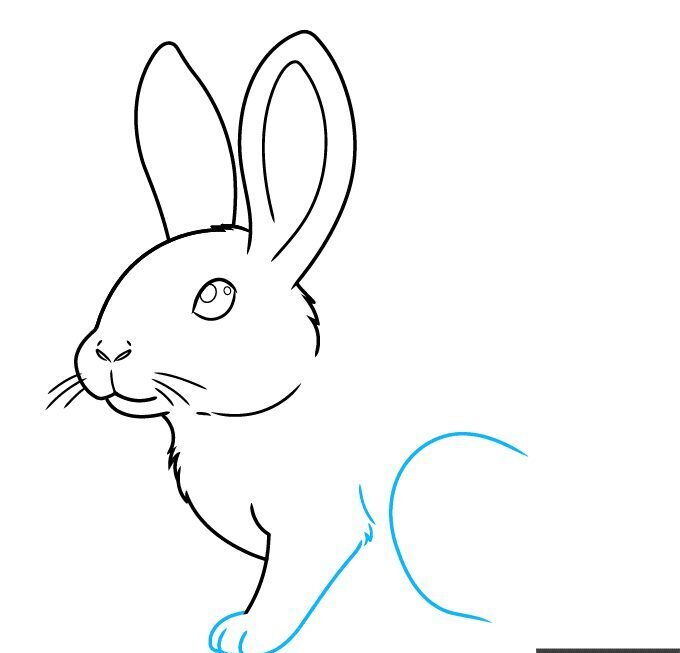
Now that you've drawn the ears, let's work on the bunny's body. Start defining the body shape by drawing a curved line that connects the bottom of the neck to the back. This will give a feeling of movement and smoothness. Then, draw the front and back legs with rounded shapes, remembering to add details such as claws. Don't forget to keep the proportions harmonious!
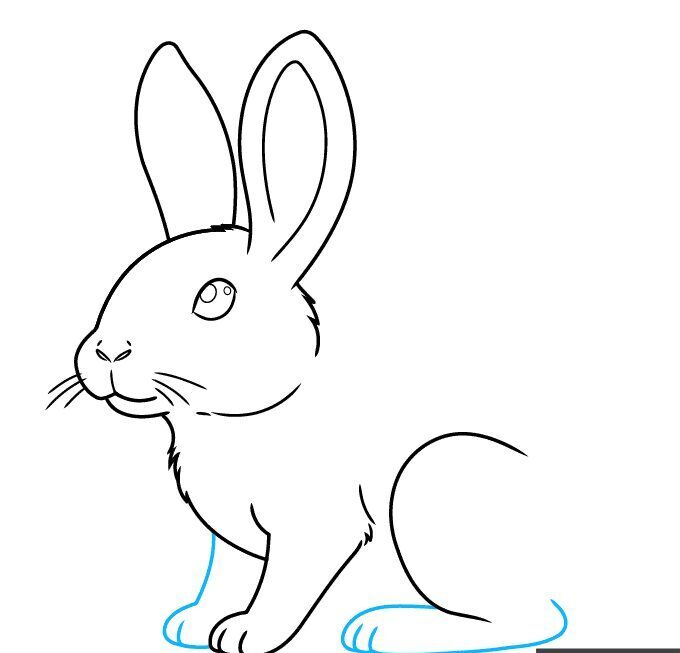
Step 9 of 10
Now that you've defined the rabbit's body and paws, let's add details that will bring more life to your drawing. Start by drawing the eyes, giving them an oval shape and adding a small circle inside to represent the glow. Then draw the whiskers with thin lines coming out of the muzzle. To finish, add some soft lines to suggest the fur, especially in the chest and paw areas, creating texture and depth.
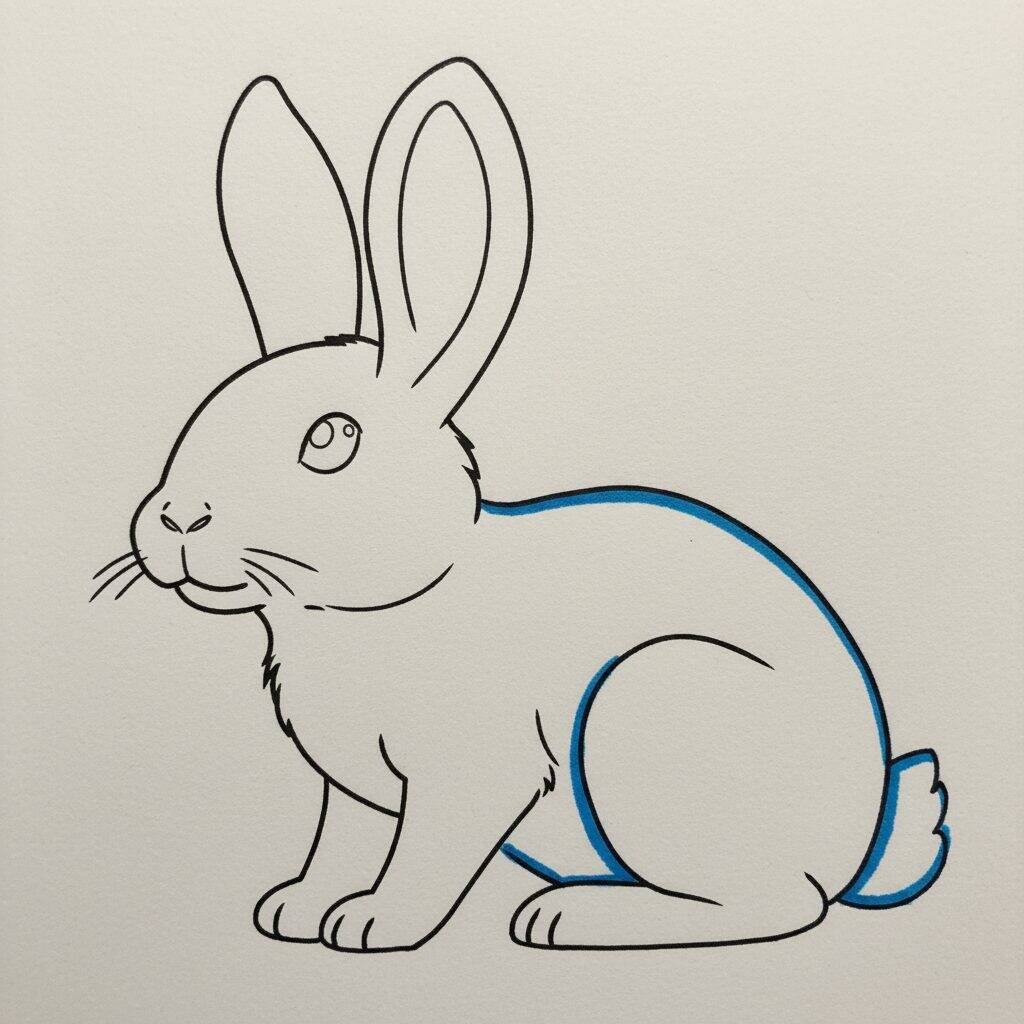
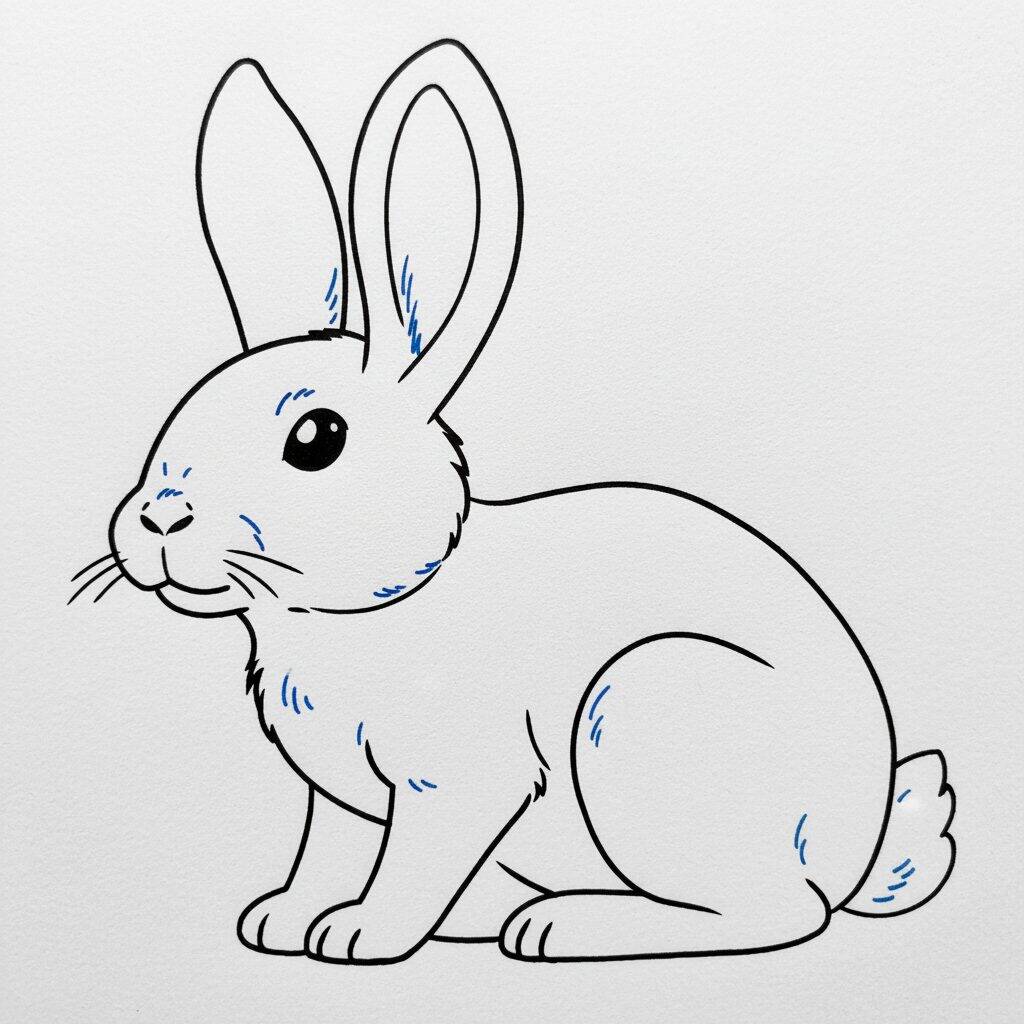
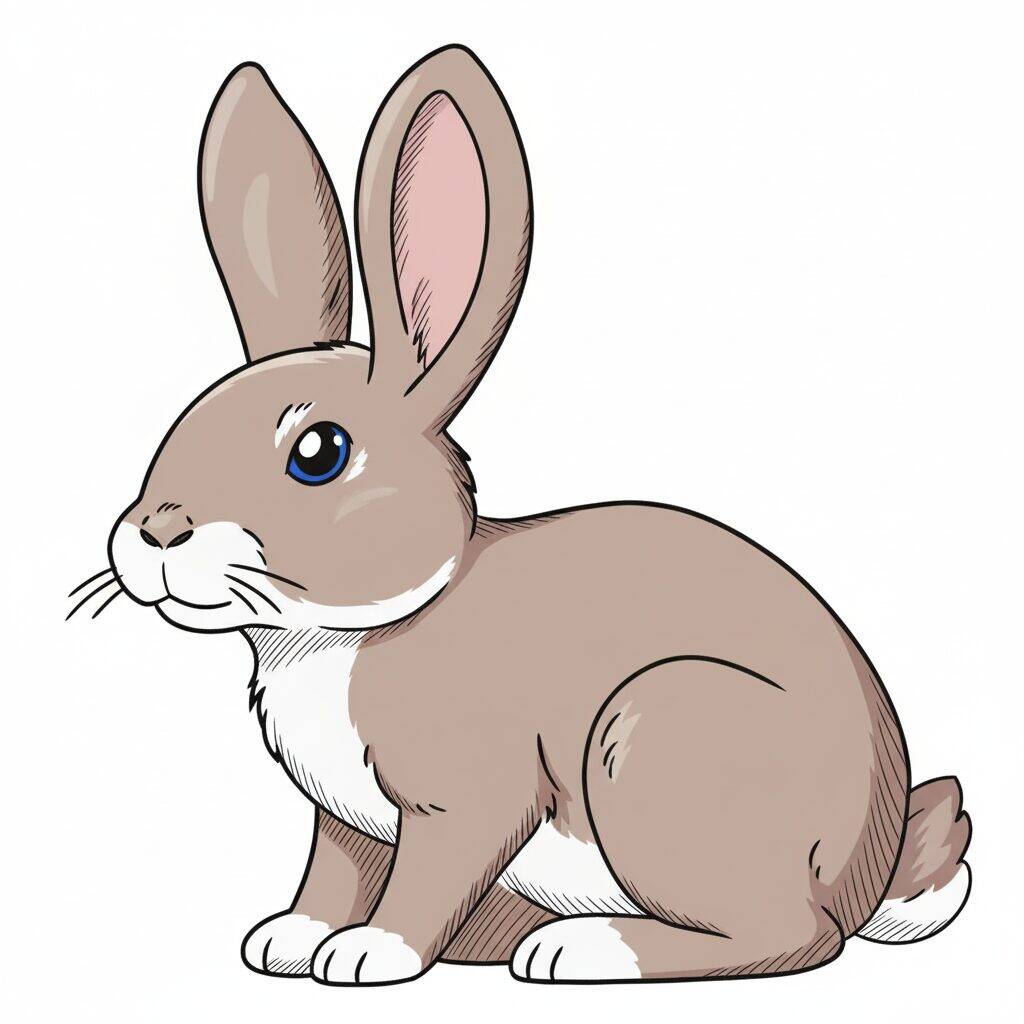
Step 10 of 10
Now that your bunny drawing is almost complete, it's time to add the finishing touches. Start by enhancing your eyes, accentuating their shine with a little more light. Then, review the strokes that represent the coat, adding subtle shadows to give it more depth. Lastly, take a critical look and adjust any details that need more definition. Your realistic bunny is ready!