

📐 How to Draw — Step by Step
Step 1 of 9
To start drawing the lion, make an oval shape at the top for the head. Next, draw the lower part of the body with a curved line that extends downward, forming the outline of the body. Add a smooth line for the neck, connecting the head to the body. Finally, draw a front paw with three small lines to represent the fingers. These basic shapes will serve as the basis for the next steps.
Step 2 of 9
Now, let's add more details to the lion's head. Start by drawing the ears, which have a rounded shape and are on top of the head. Then refine the top of the head by drawing a smooth line that connects the ears. Then, add a light contour to the face, creating a line that goes down towards the chin. This will help shape the lion's face.
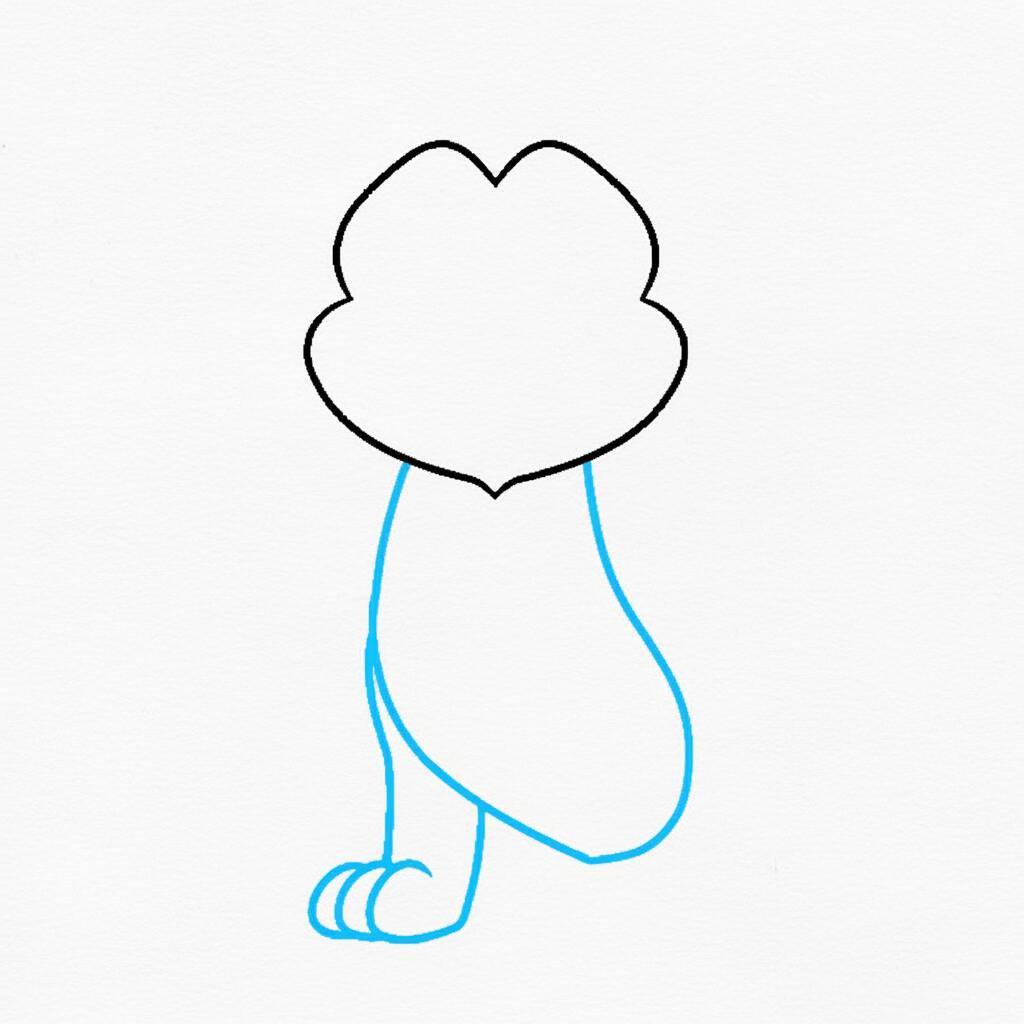
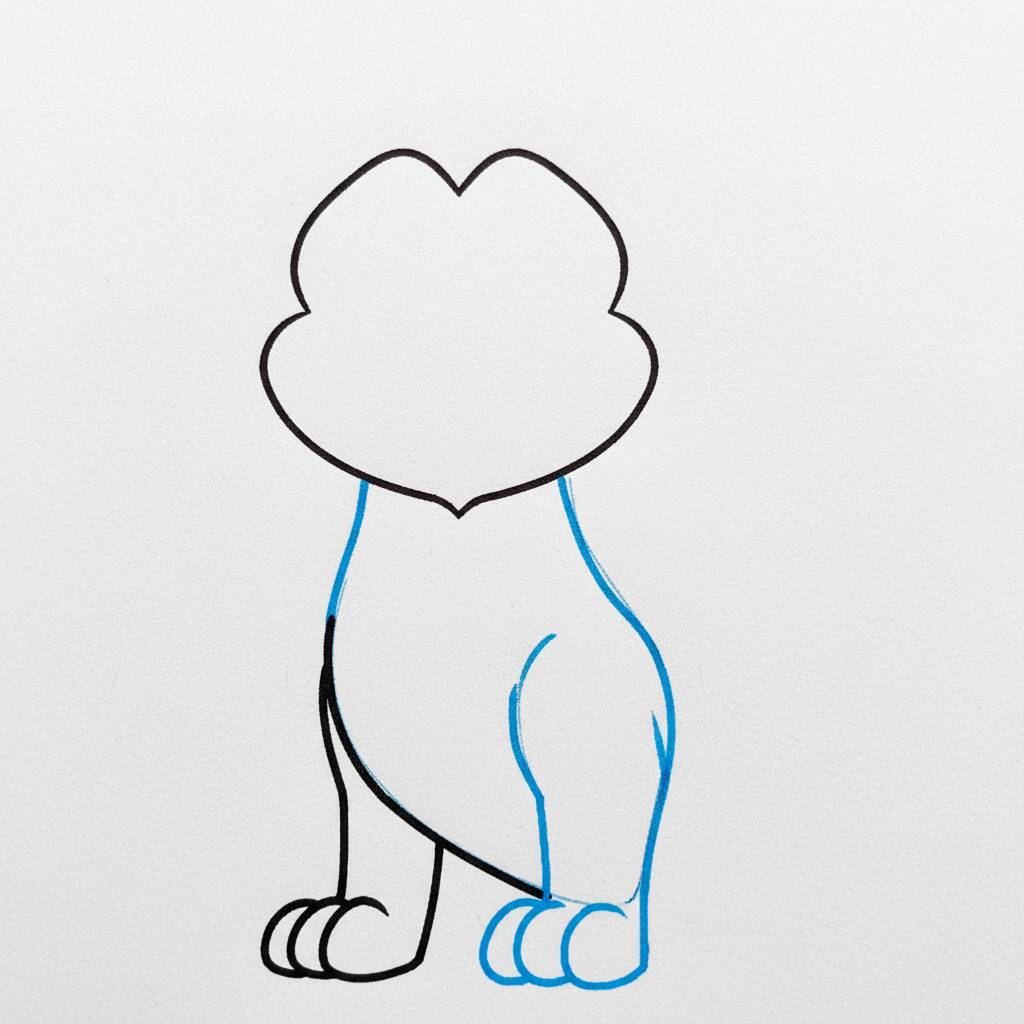
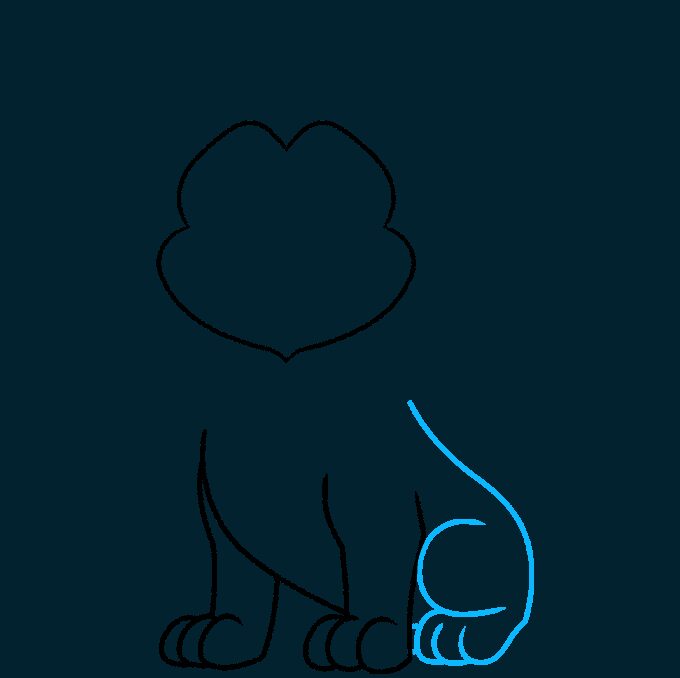
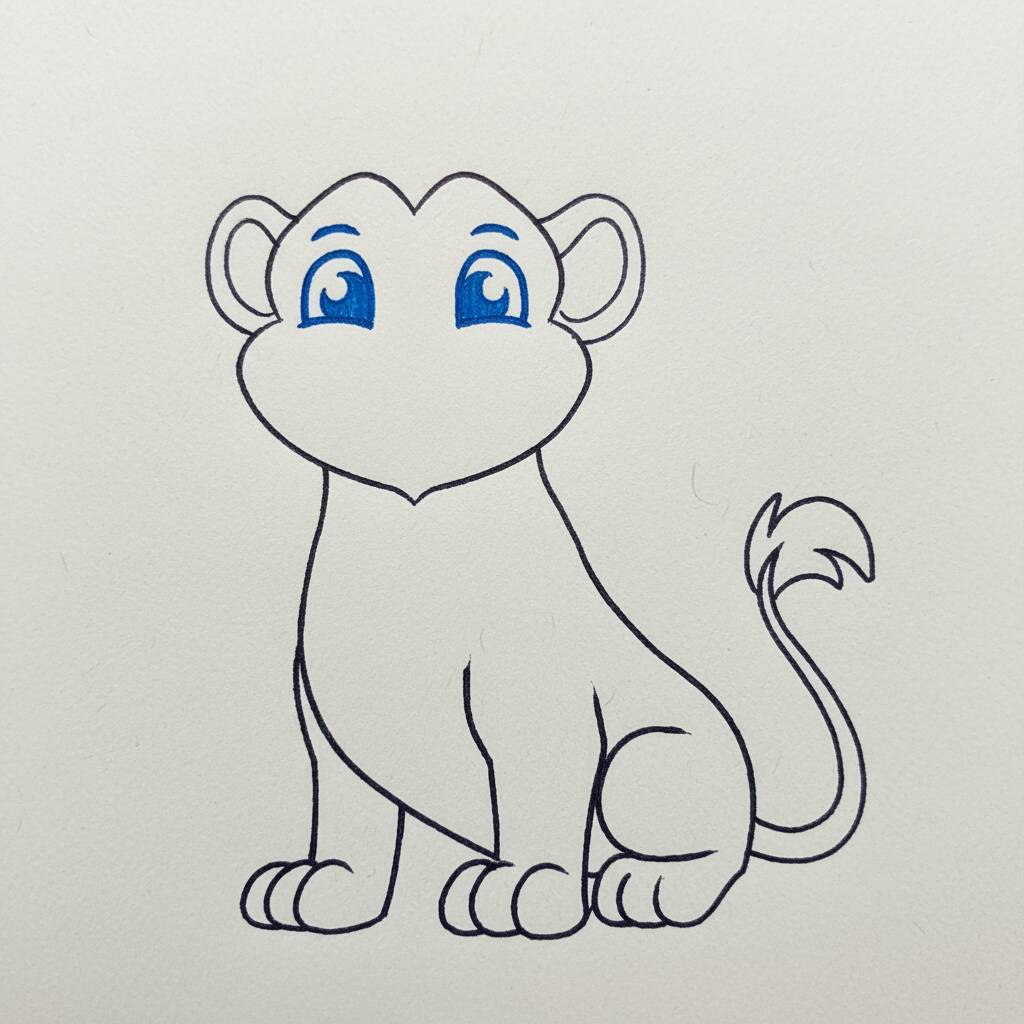
Step 3 of 9
Now, let's work on the lion's paws. Start by drawing the front paw, which should have a sturdy shape. Draw a line that curves downward, forming the front part of the paw. Then add a rounded shape at the bottom to represent the base of the paw. Don't forget to add the fingers by drawing short lines on the bottom of the paw. This will bring more life to your drawing!
Step 4 of 9
Now let's work on the lion's head. Start by drawing the shape of the head, which should be a little rounded at the top and narrower at the bottom. Then add the ears, which should be triangular and a little rounded at the ends. Don't forget to leave space for the eyes and snout, which you can sketch with simple shapes. This will help bring your lion to life!
Step 5 of 9
Now that the basic shape of the head is ready, let's work on the lion's eyes. Draw two large circles for the eyes, leaving space between them. Inside each circle, add a small black circle for the pupils and a sparkle next to it to bring the look to life. Then draw a curved line above each eye to create the eyebrows. This will give your lion more expression!
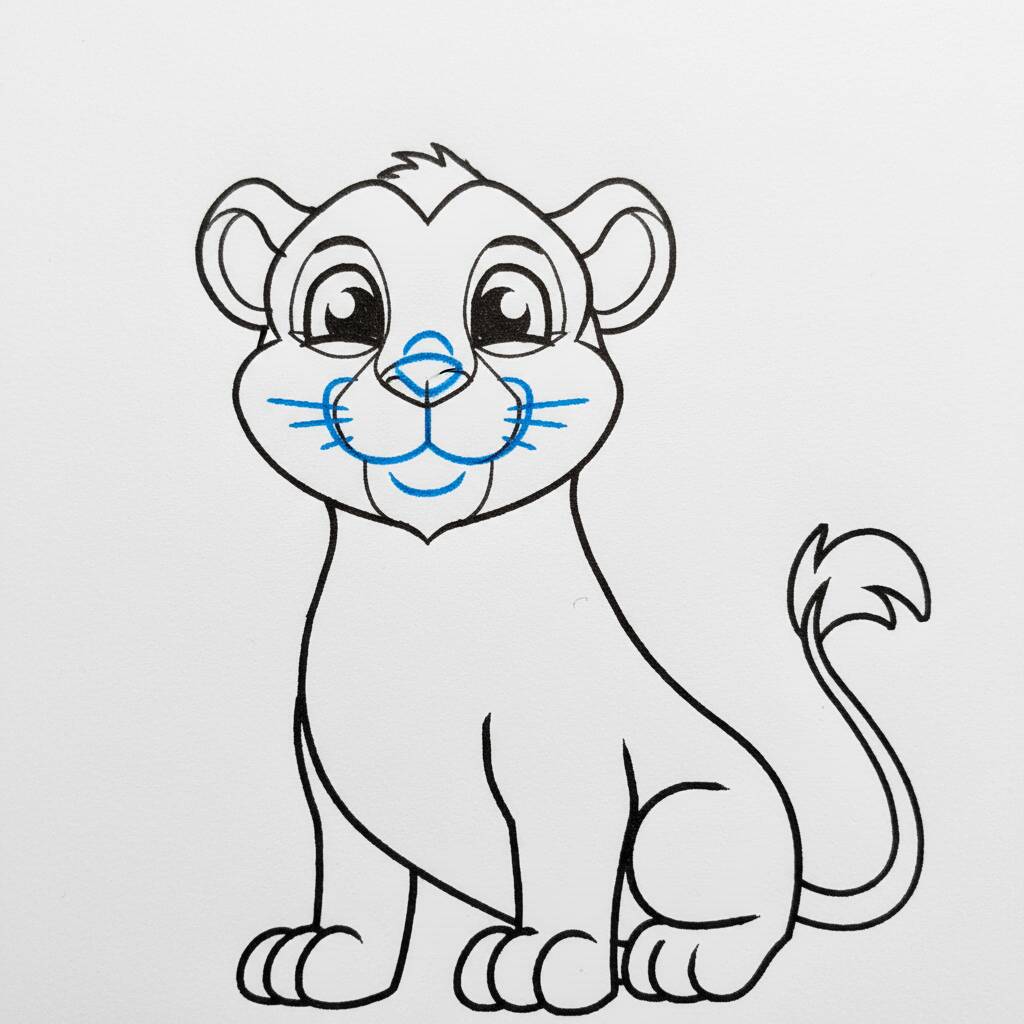
Step 6 of 9
Agora que os olhos e as sobrancelhas do leão estão prontos, vamos trabalhar no focinho e na boca. Comece desenhando uma forma ovalada para o focinho, logo abaixo dos olhos. Depois, adicione uma linha curva embaixo do focinho para formar a boca. Para dar um toque especial, desenhe uma pequena linha em forma de "W" no centro da boca. Não se esqueça de adicionar algumas linhas ao redor do focinho para dar mais textura e profundidade!
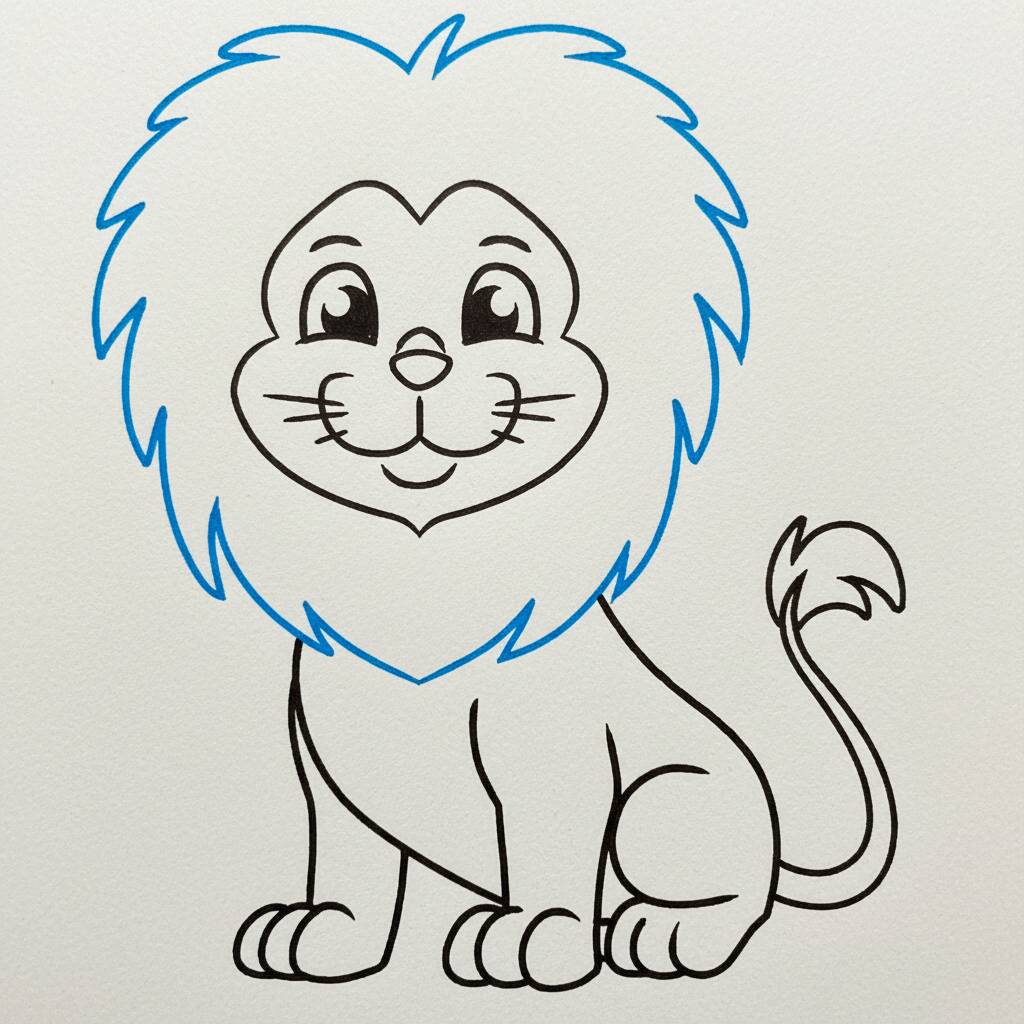
Step 7 of 9
Now that the lion's snout and mouth are ready, let's work on the mane. Start by drawing wavy lines around the head, creating a voluminous, soft effect. The waves should be wider at the top and narrower at the sides. Remember to vary the size of the waves to give them a natural look. Finally, add a few short lines inside the mane to give it more texture and movement.
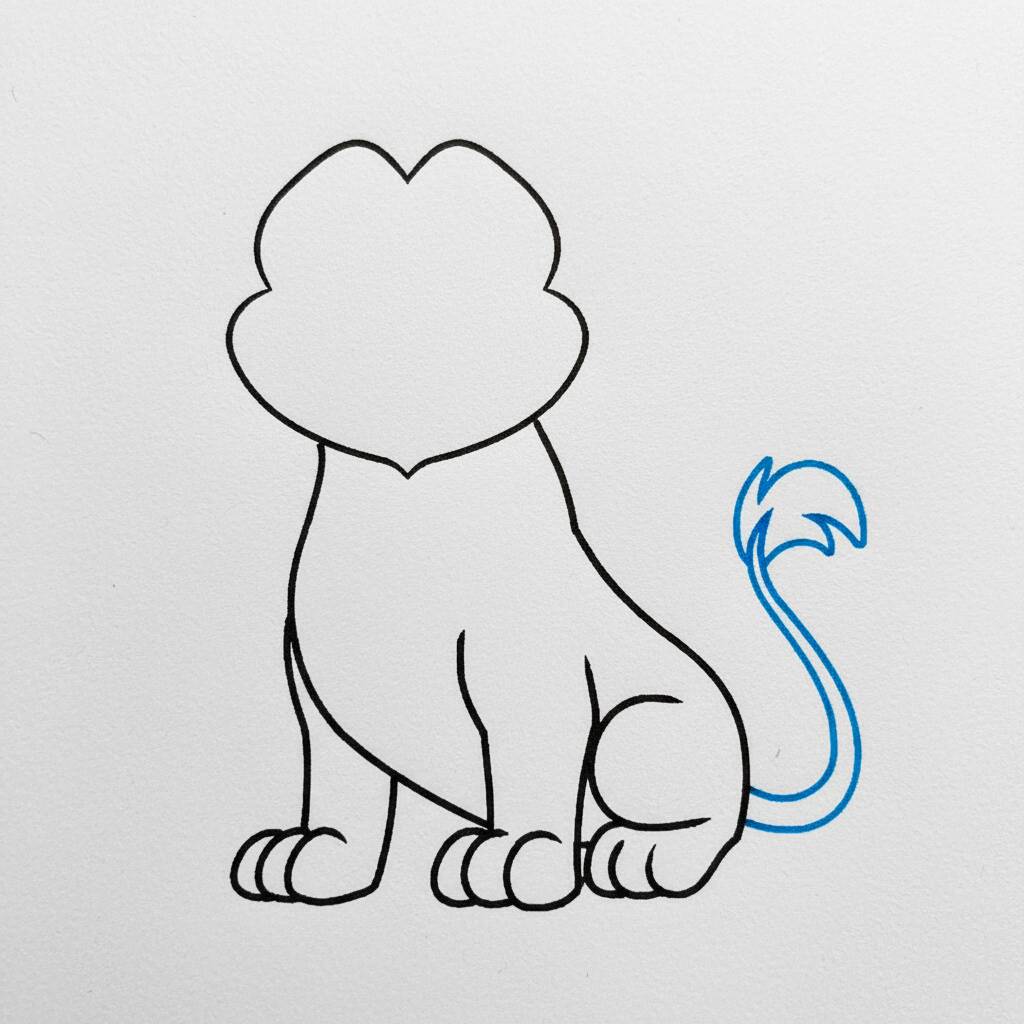
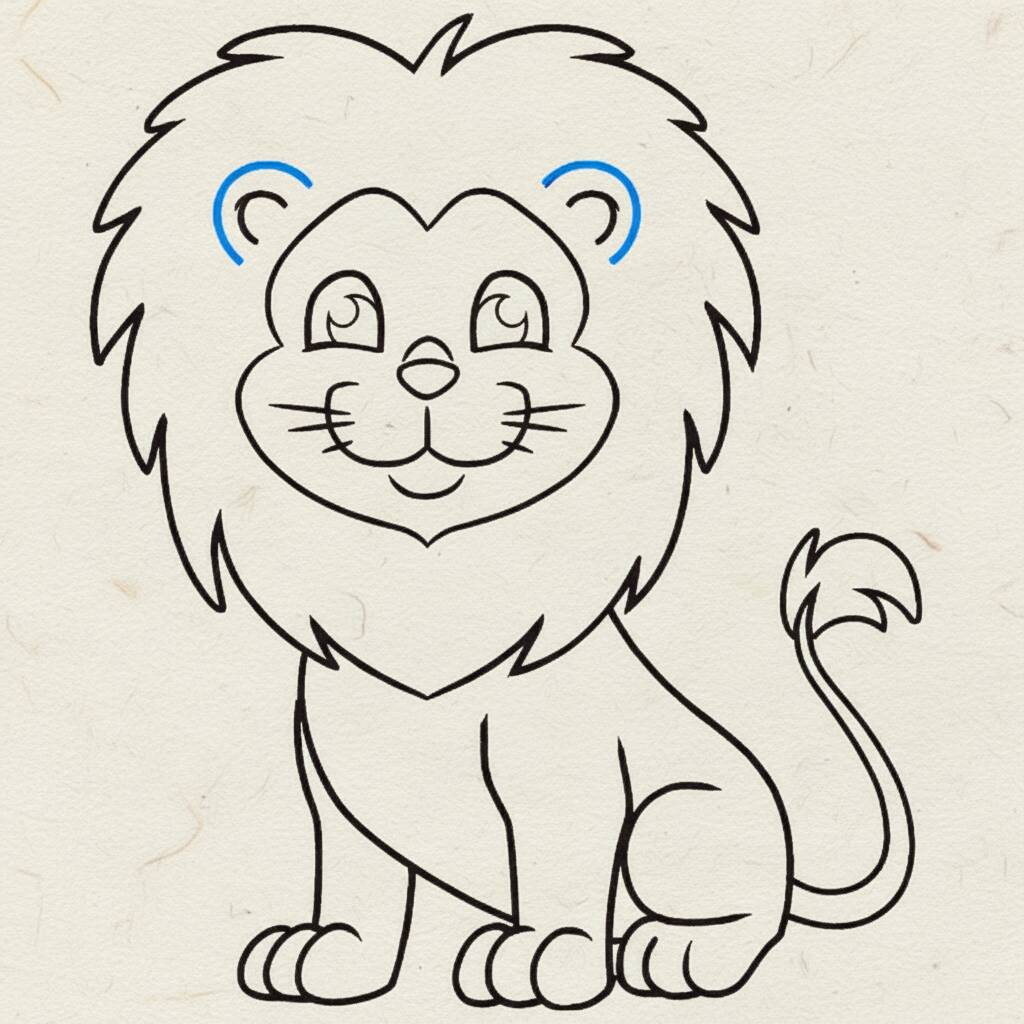
Step 8 of 9
Now that the lion's mane is defined, let's add the final details. Start by drawing the ears, which should be rounded and positioned at the top of the head. Then add some inner strokes to give the ears shape and depth. Lastly, refine the lion's body by adding soft lines for the paws and tail, ensuring everything is harmonious.
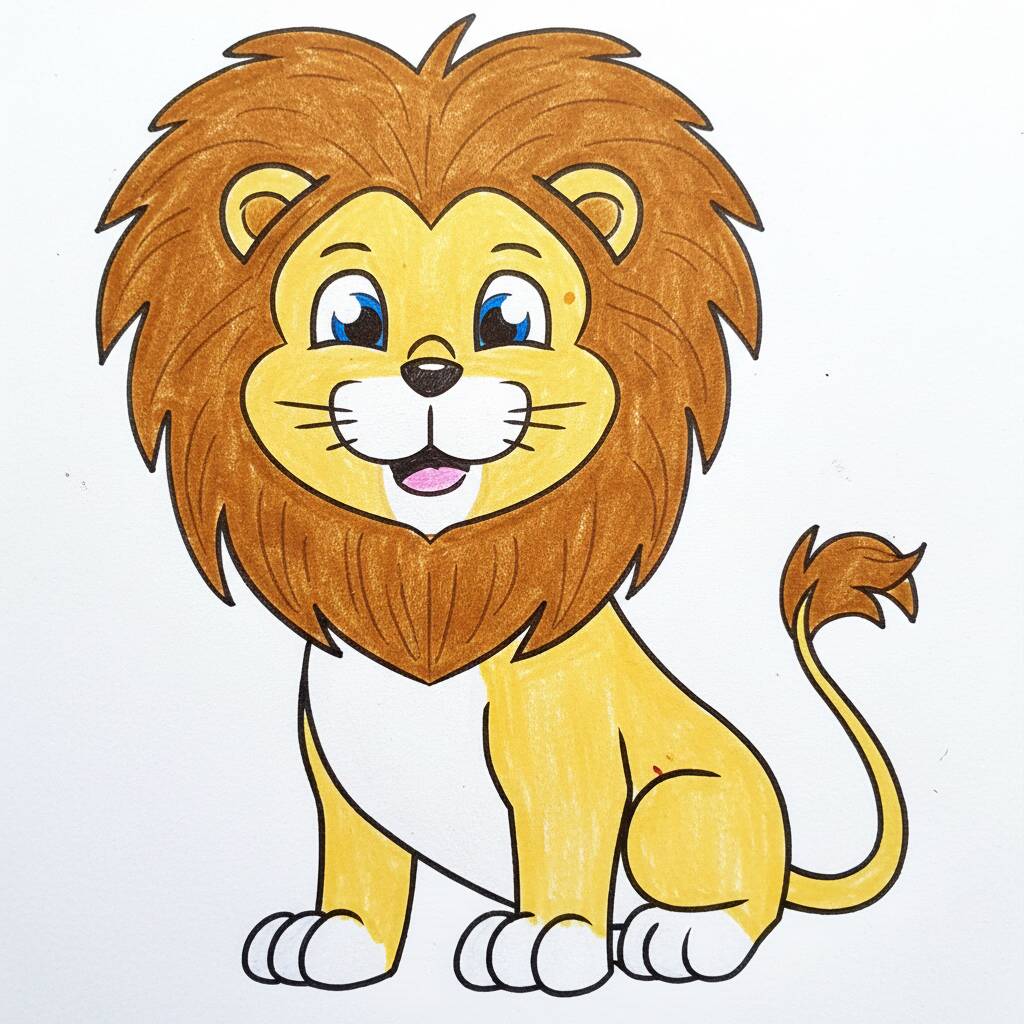
Step 9 of 9
Congratulations! You've reached the end of our lion drawing! Now, to finish, use vibrant colors to bring your lion to life. Paint the mane in shades of brown, the body in a soft yellow and add details such as the eyes in blue and the nose in pink. Don't forget to add a special touch to the background if you wish to make your cute lion stand out. Enjoy your work!